
Bay Area window style guide
Window Types for Bay Area Homes: Install and adjust each operating style as the manufacturer specifies.
Start with the existing frame, removal method, sealing, and finished edge. Choose how each window opens around the way the room is used, then compare ventilation, reach, cleaning, egress, screens, frame shape, and view. For the Bay Area, judge each style against the measured opening, installation method, frame requirements, product instructions, and room goals. The best operating style is the one that fits the room, opening, outside clearance, and daily use.

Window types
Match the way a window opens to view, airflow, reach, and daily use.
For each Bay Area room, test the window's movement against reach, furniture, screens, cleaning, exterior clearance, view, and the amount of ventilation needed.

Give Single slider, Double-hung, Casement, and Picture distinct room assignments
In homes across the Bay Area, choose operation from how the room is used and the existing frame, removal method, sealing, and finished edge. A style earns its place when it gives the opening the right balance of airflow, view, privacy, reach, and nearby clearance.
During the in-home estimate, Bestoff Windows Inc. photographs the interior and exterior, inspects the sill, trim, and operation, and records visible staining before proposing a method. Different window styles create different fastening, leveling, projection, frame, and finish requirements during installation. For the Bay Area shortlist, Bestoff Windows Inc. reviews view, airflow, privacy, reach, furniture, cleaning, safety, egress, and outside clearance before recommending how the window should open. Other styles remain available when the measured opening gives them a clearer purpose.

Require every operation change to solve a recorded problem
Changing the way a window opens can also change screens, hardware reach, sash clearance, ventilation, view, and the exterior arrangement. Bestoff Windows Inc. confirms which of those changes is meant to improve each Bay Area room.
The plan should explain how incidental water is kept out or directed away rather than relying on an exposed cosmetic seal alone. Moving from sliding to projecting, hung to fixed, or one grouping to another can change screens, hardware reach, sash clearance, egress, view area, alignment, and local review requirements. The consultation uses the measured opening, installation method, frame requirements, product instructions, and room goals to explain the proposed Bay Area change and keeps a familiar operation when no better purpose is established.

Carry the window type into an exact product and installation line
A style name alone does not identify frame width, glass area, hardware, size limits, ratings, or finish. Keep the exact proposed window tied to the measured opening and the installation method.
Operation, locks, reveals, sealant, trim, glass, screens, cleanup, and homeowner instructions belong in final review. One operating category can have different frame widths, meeting rails, sash proportions, locks, hardware, reinforcement, screens, glass packages, size limits, and ratings across collections. Bestoff Windows Inc. connects the existing opening and surrounding wall, including what can remain and what must be removed, protection, removal, opening preparation, setting, sealing, finish, and final operation, and adjacent-window relationships to the exact proposed window and finished edge.
Window types
The right window style should feel natural in the room.
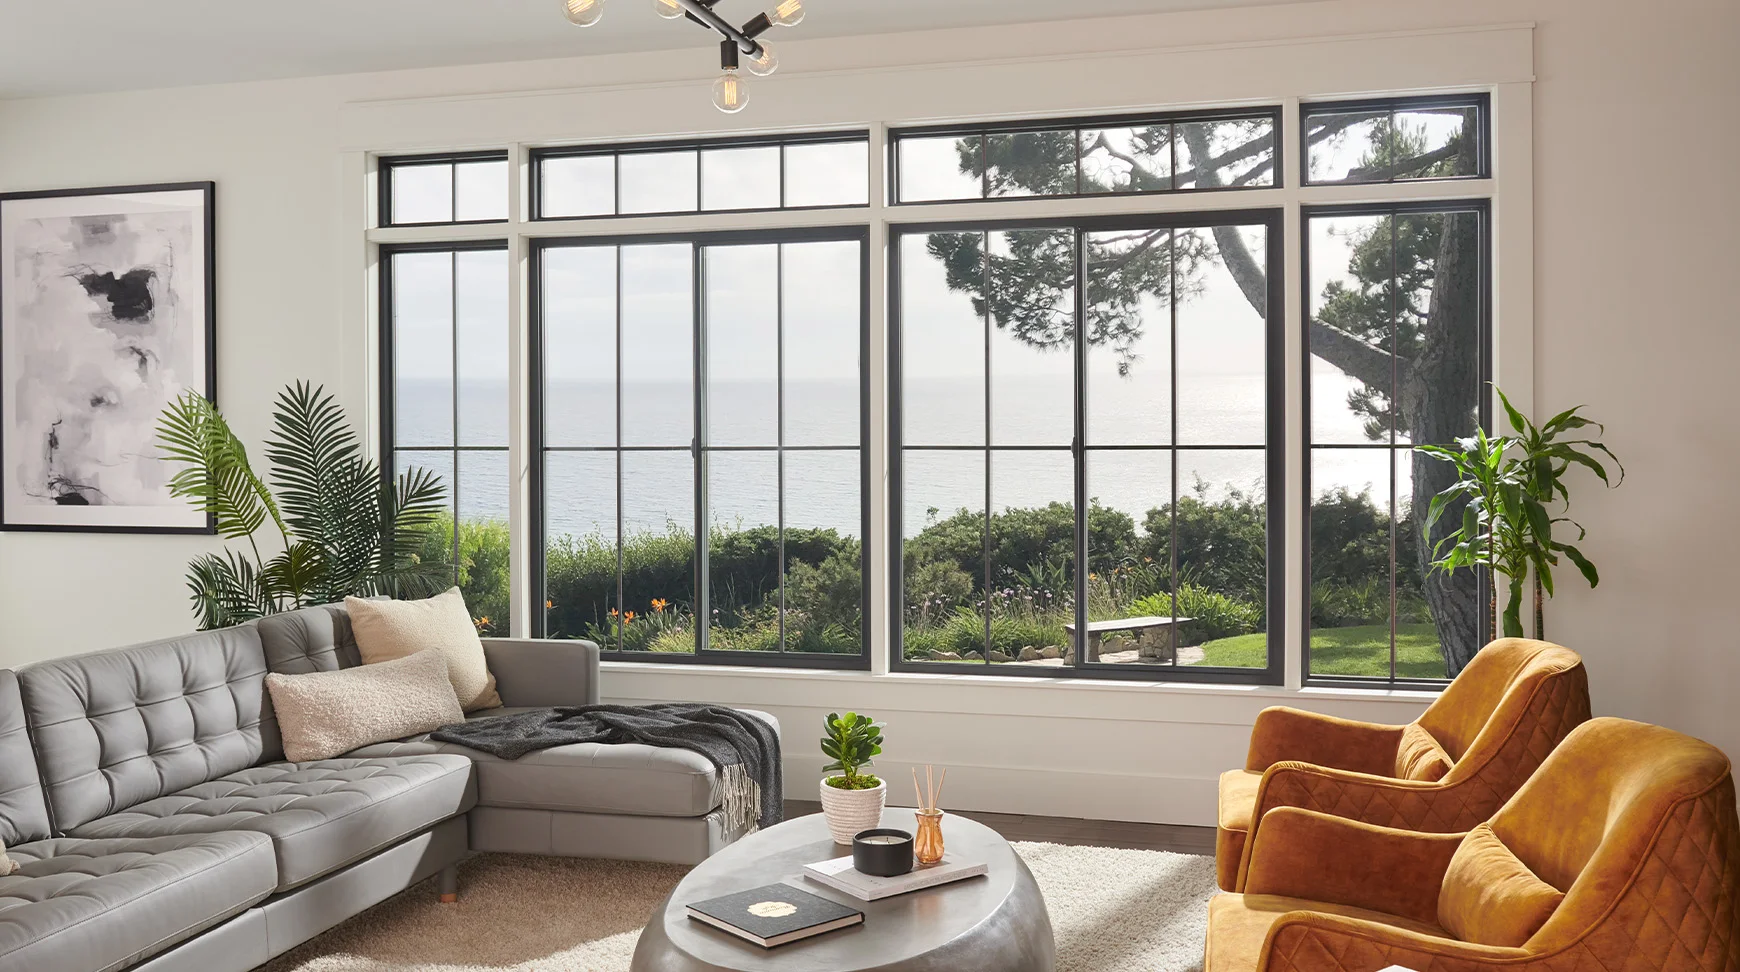
For each Bay Area opening, compare how sliders, hung windows, casements, awnings, fixed glass, and projecting styles affect airflow, reach, view, and nearby space.
The installation field guide
Choose by everyday use
Decide how the window should open before choosing its look.
The operating style changes where the handle sits, how much air can enter, where a screen goes, how the glass is cleaned, and whether furniture or an exterior path is in the way.
Plan windows room by roomCheck reach, furniture, and walking paths
Compare ventilation, screens, and cleaning access
Keep views and neighboring window lines in the decision
Window styles and installation details
Install and adjust each operating style as the manufacturer specifies.
Each style creates different needs for measurement, setting, fastening, exterior clearance, and finished edges. For windows in the Bay Area, compare ventilation, reach, cleaning, egress, screen placement, frame dimensions, and view for each room.
Different window styles create different fastening, leveling, projection, frame, and finish requirements during installation.
Single-hung
Double-hung
Single slider
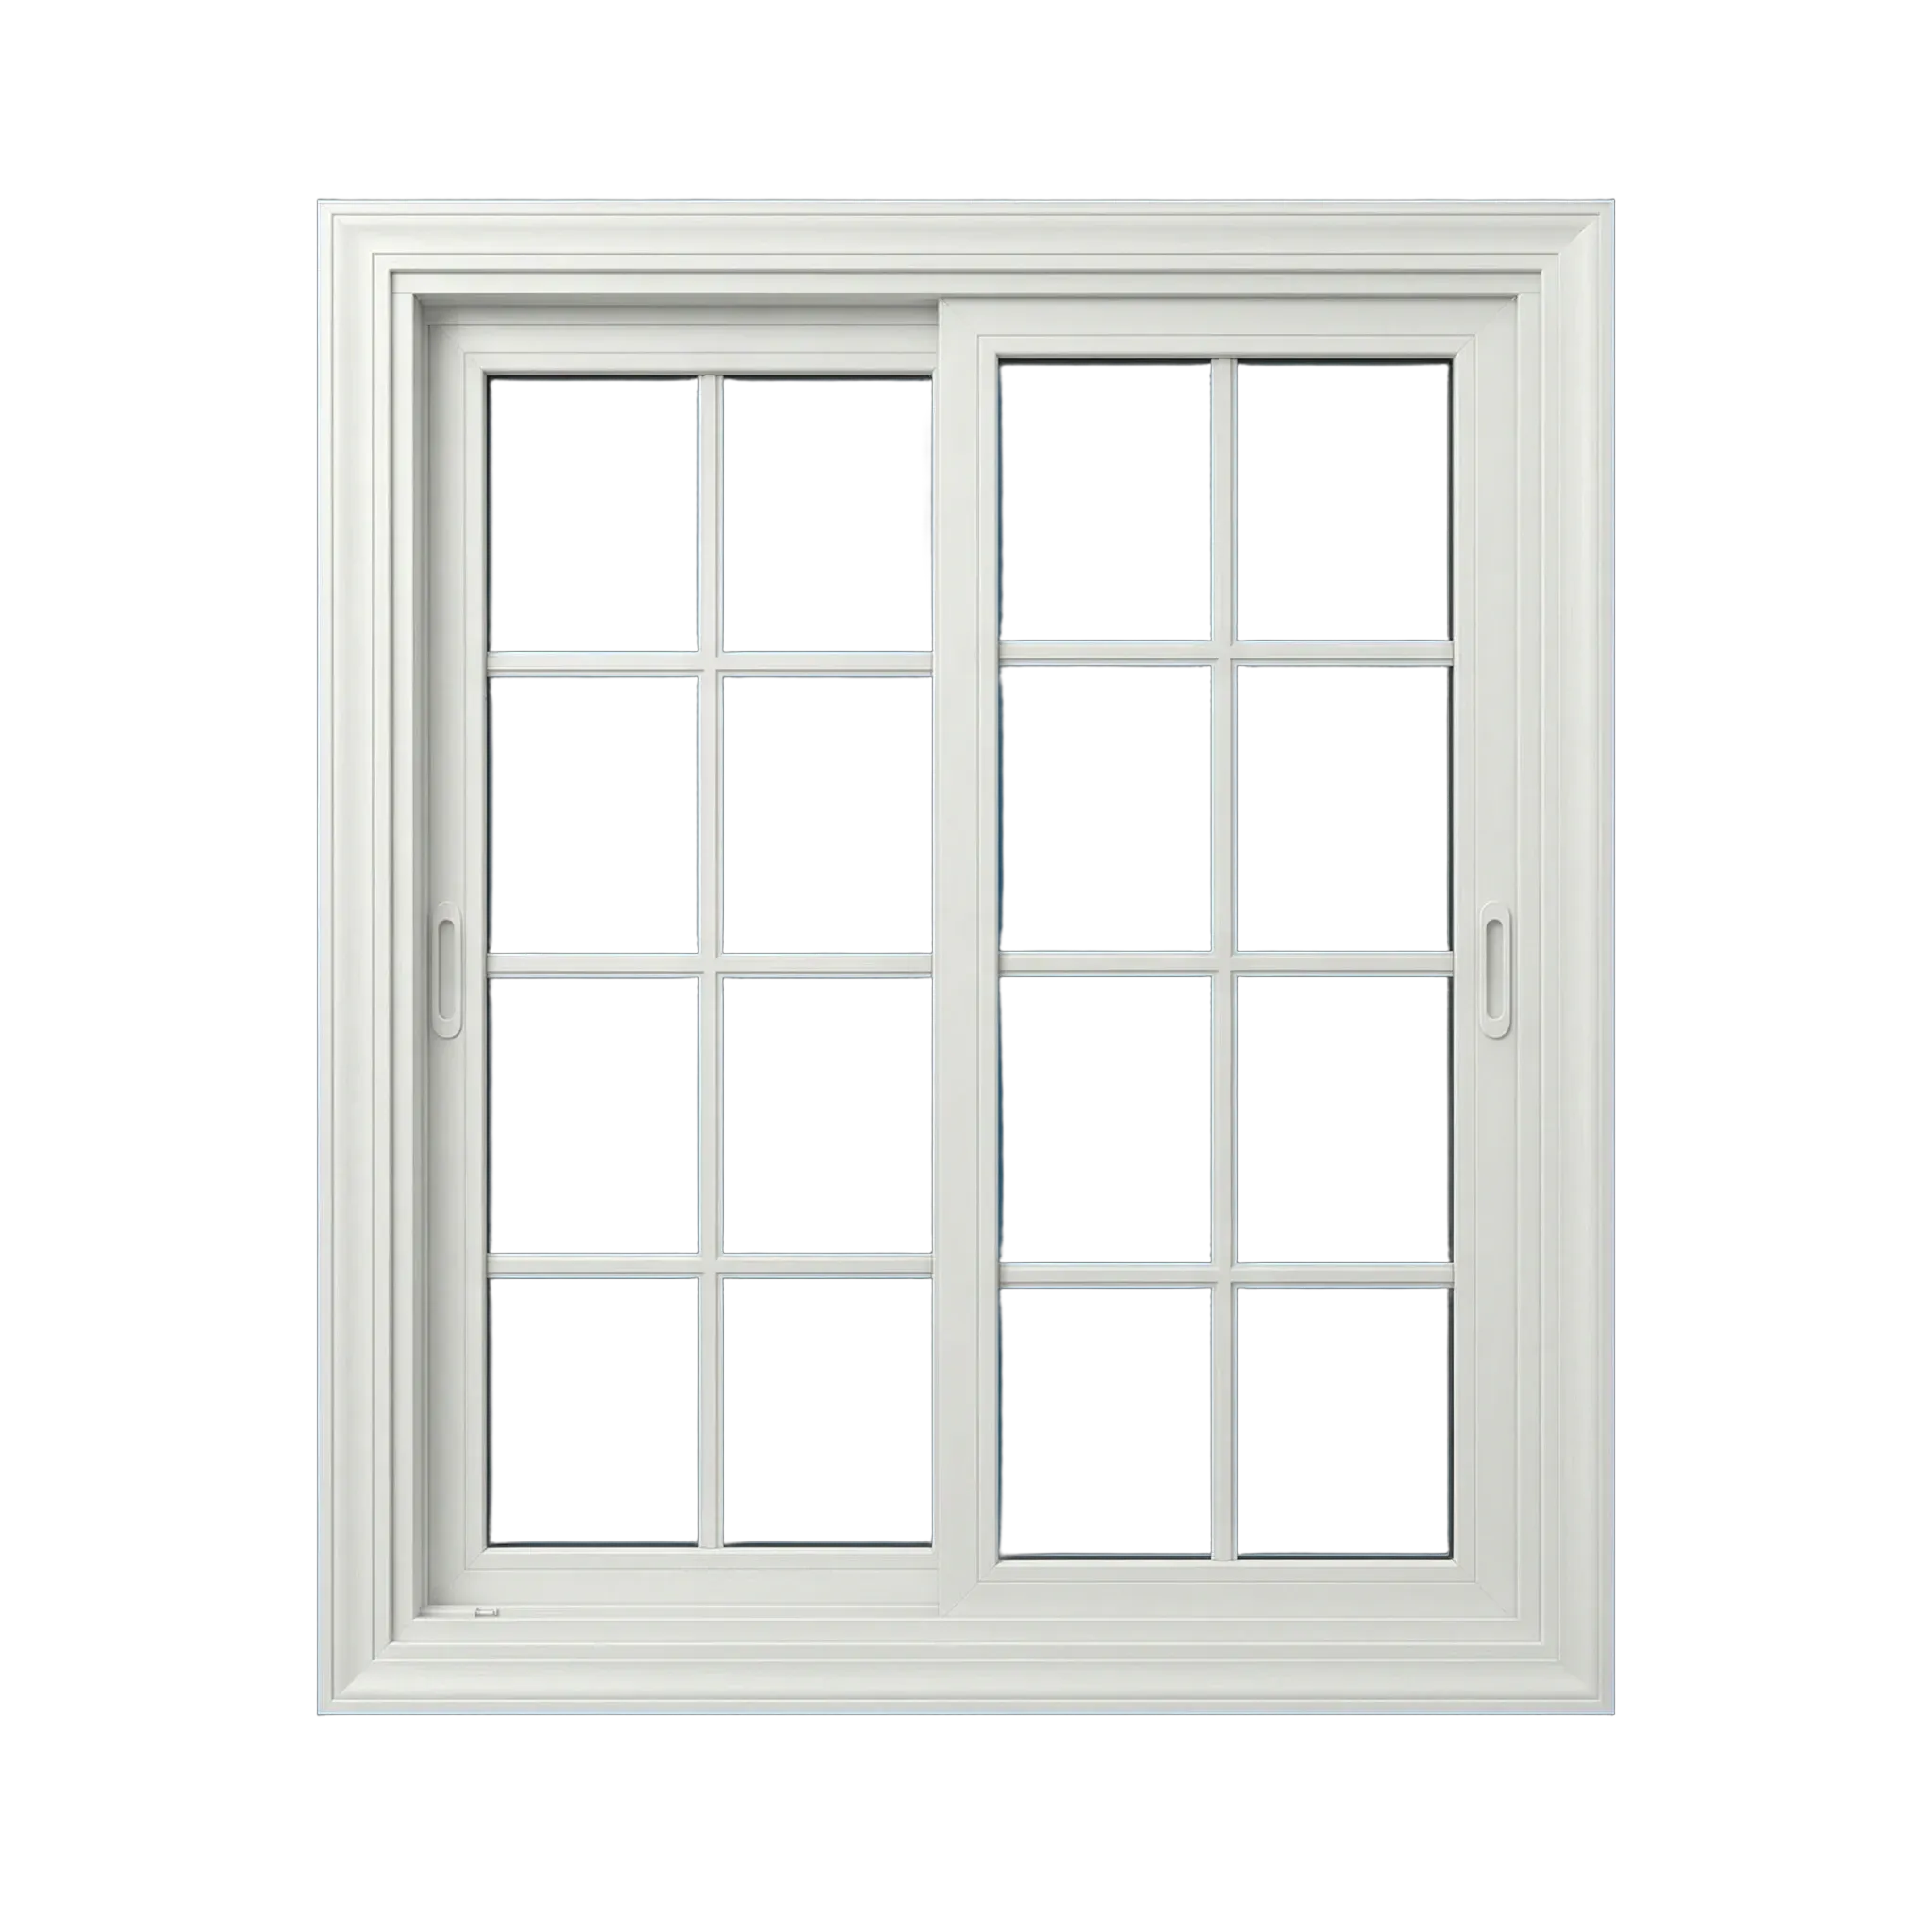
Double slider
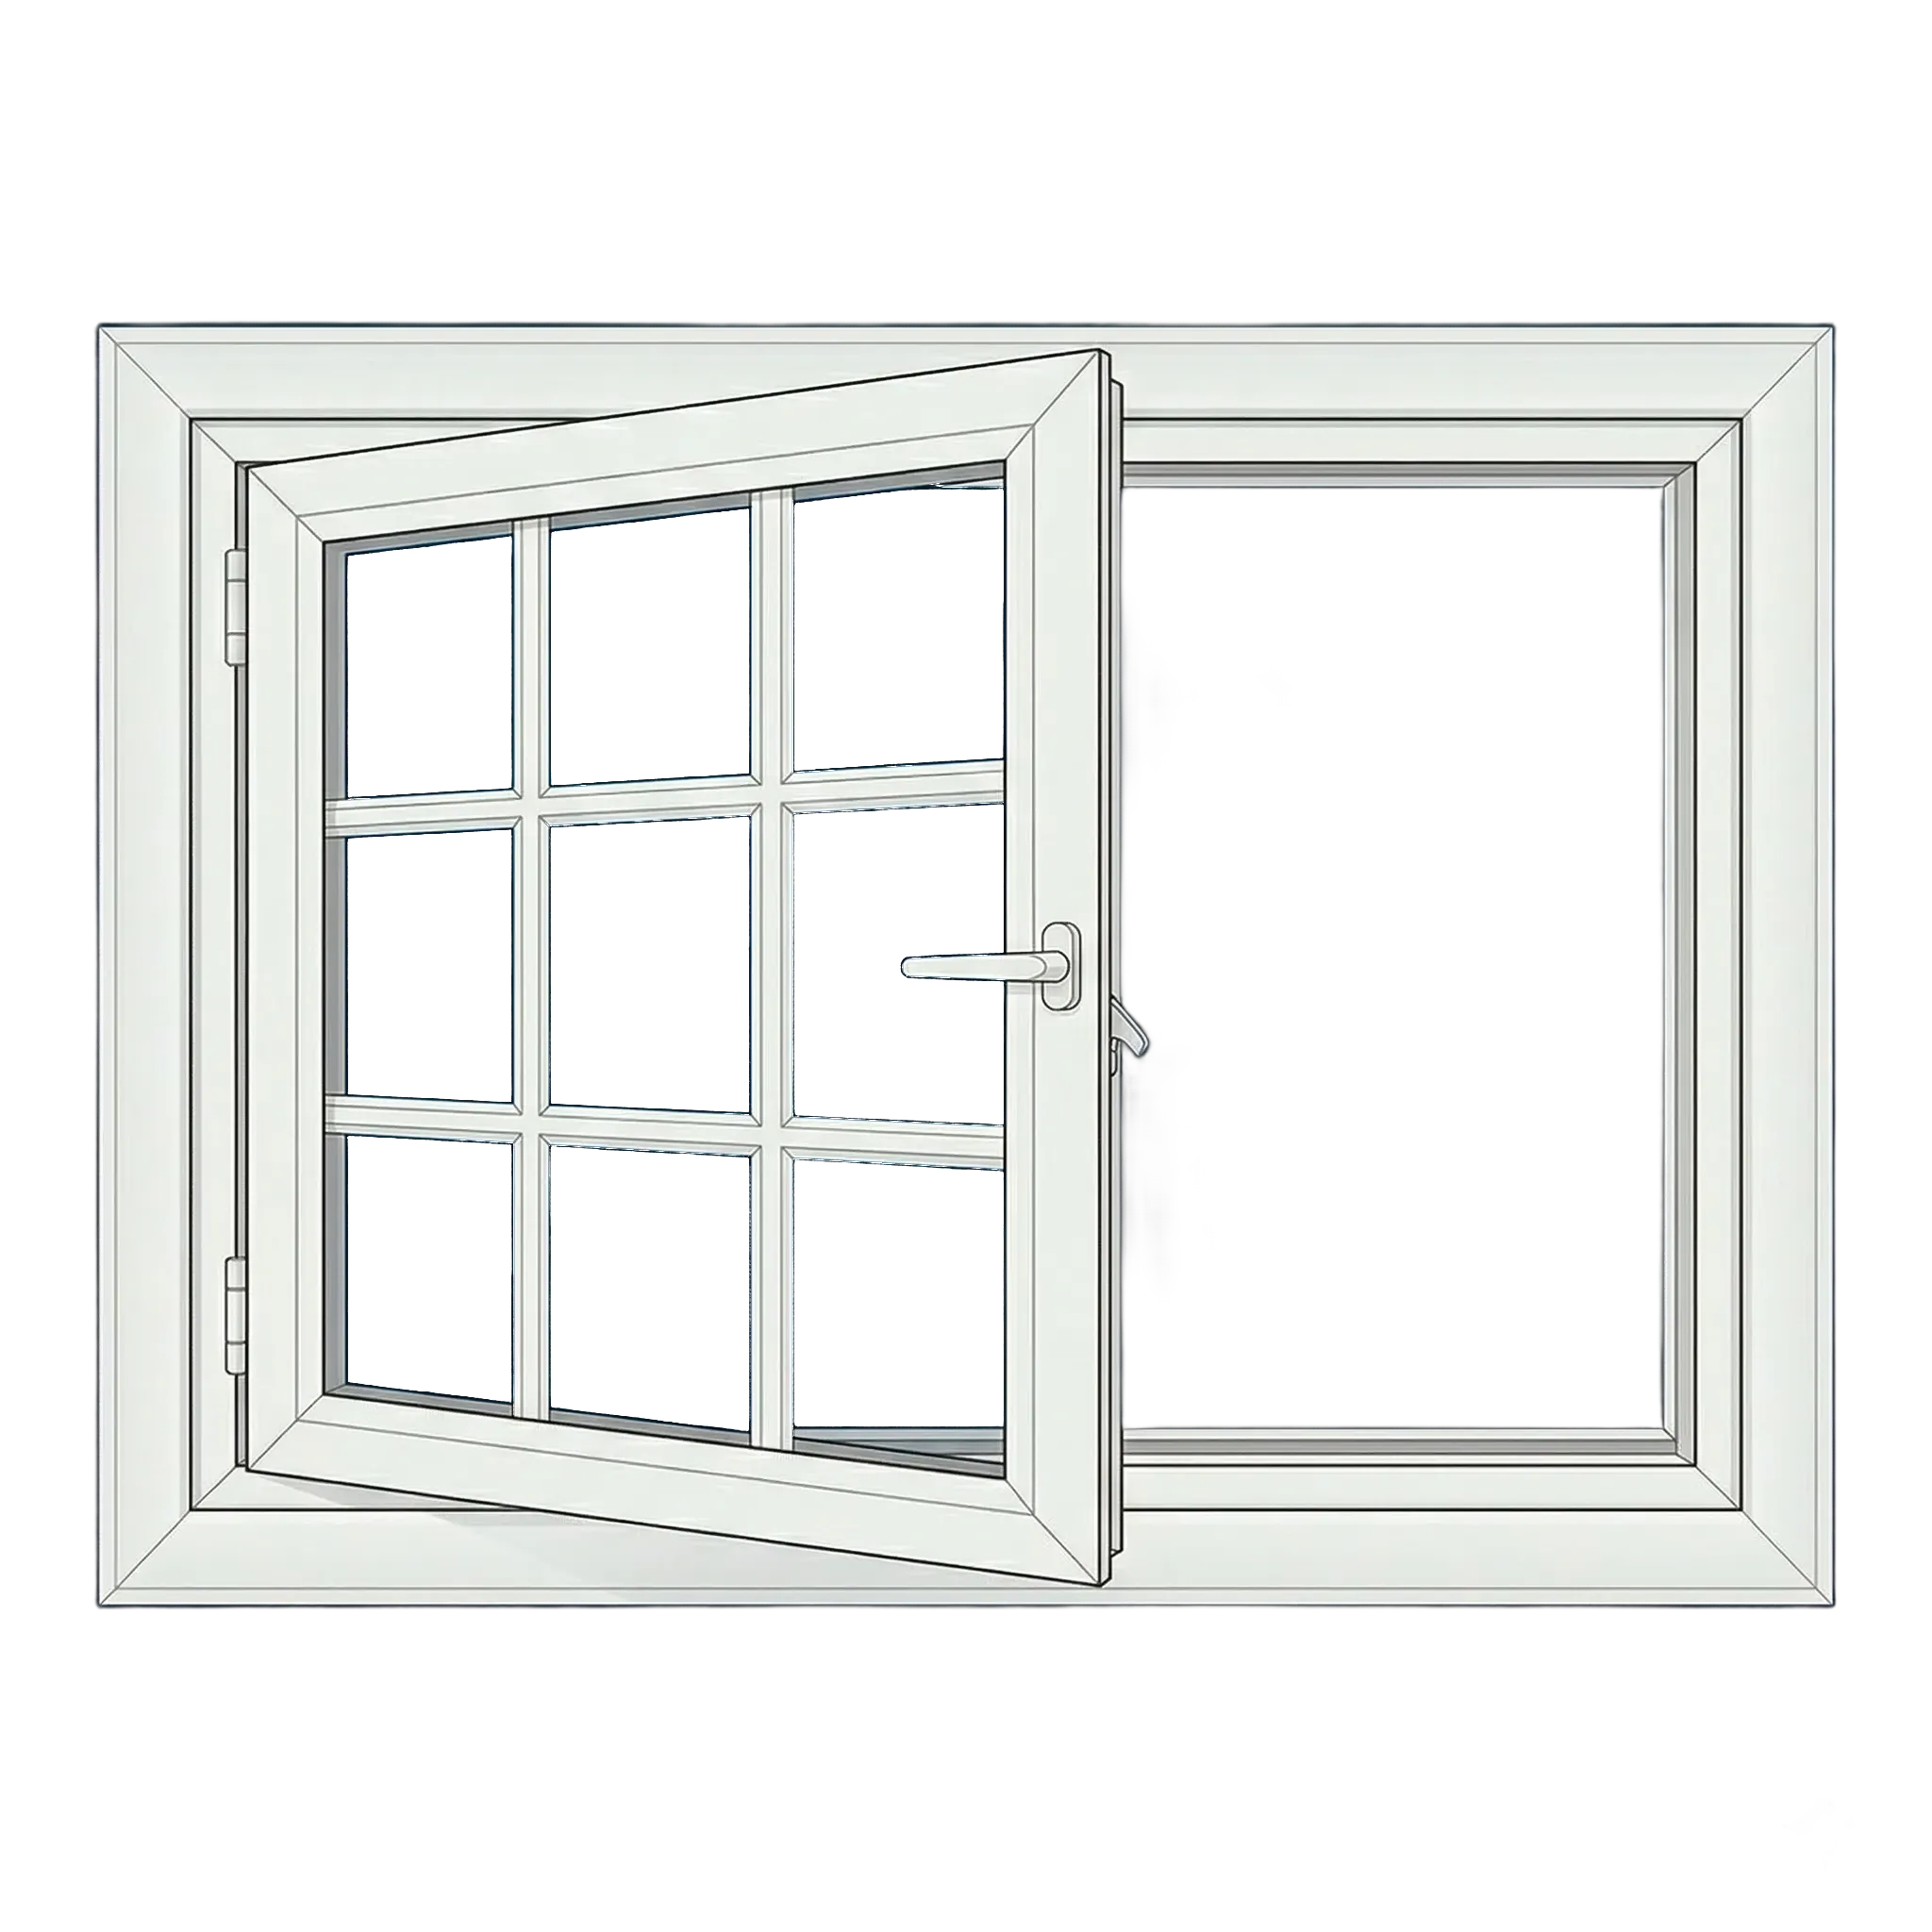
Casement
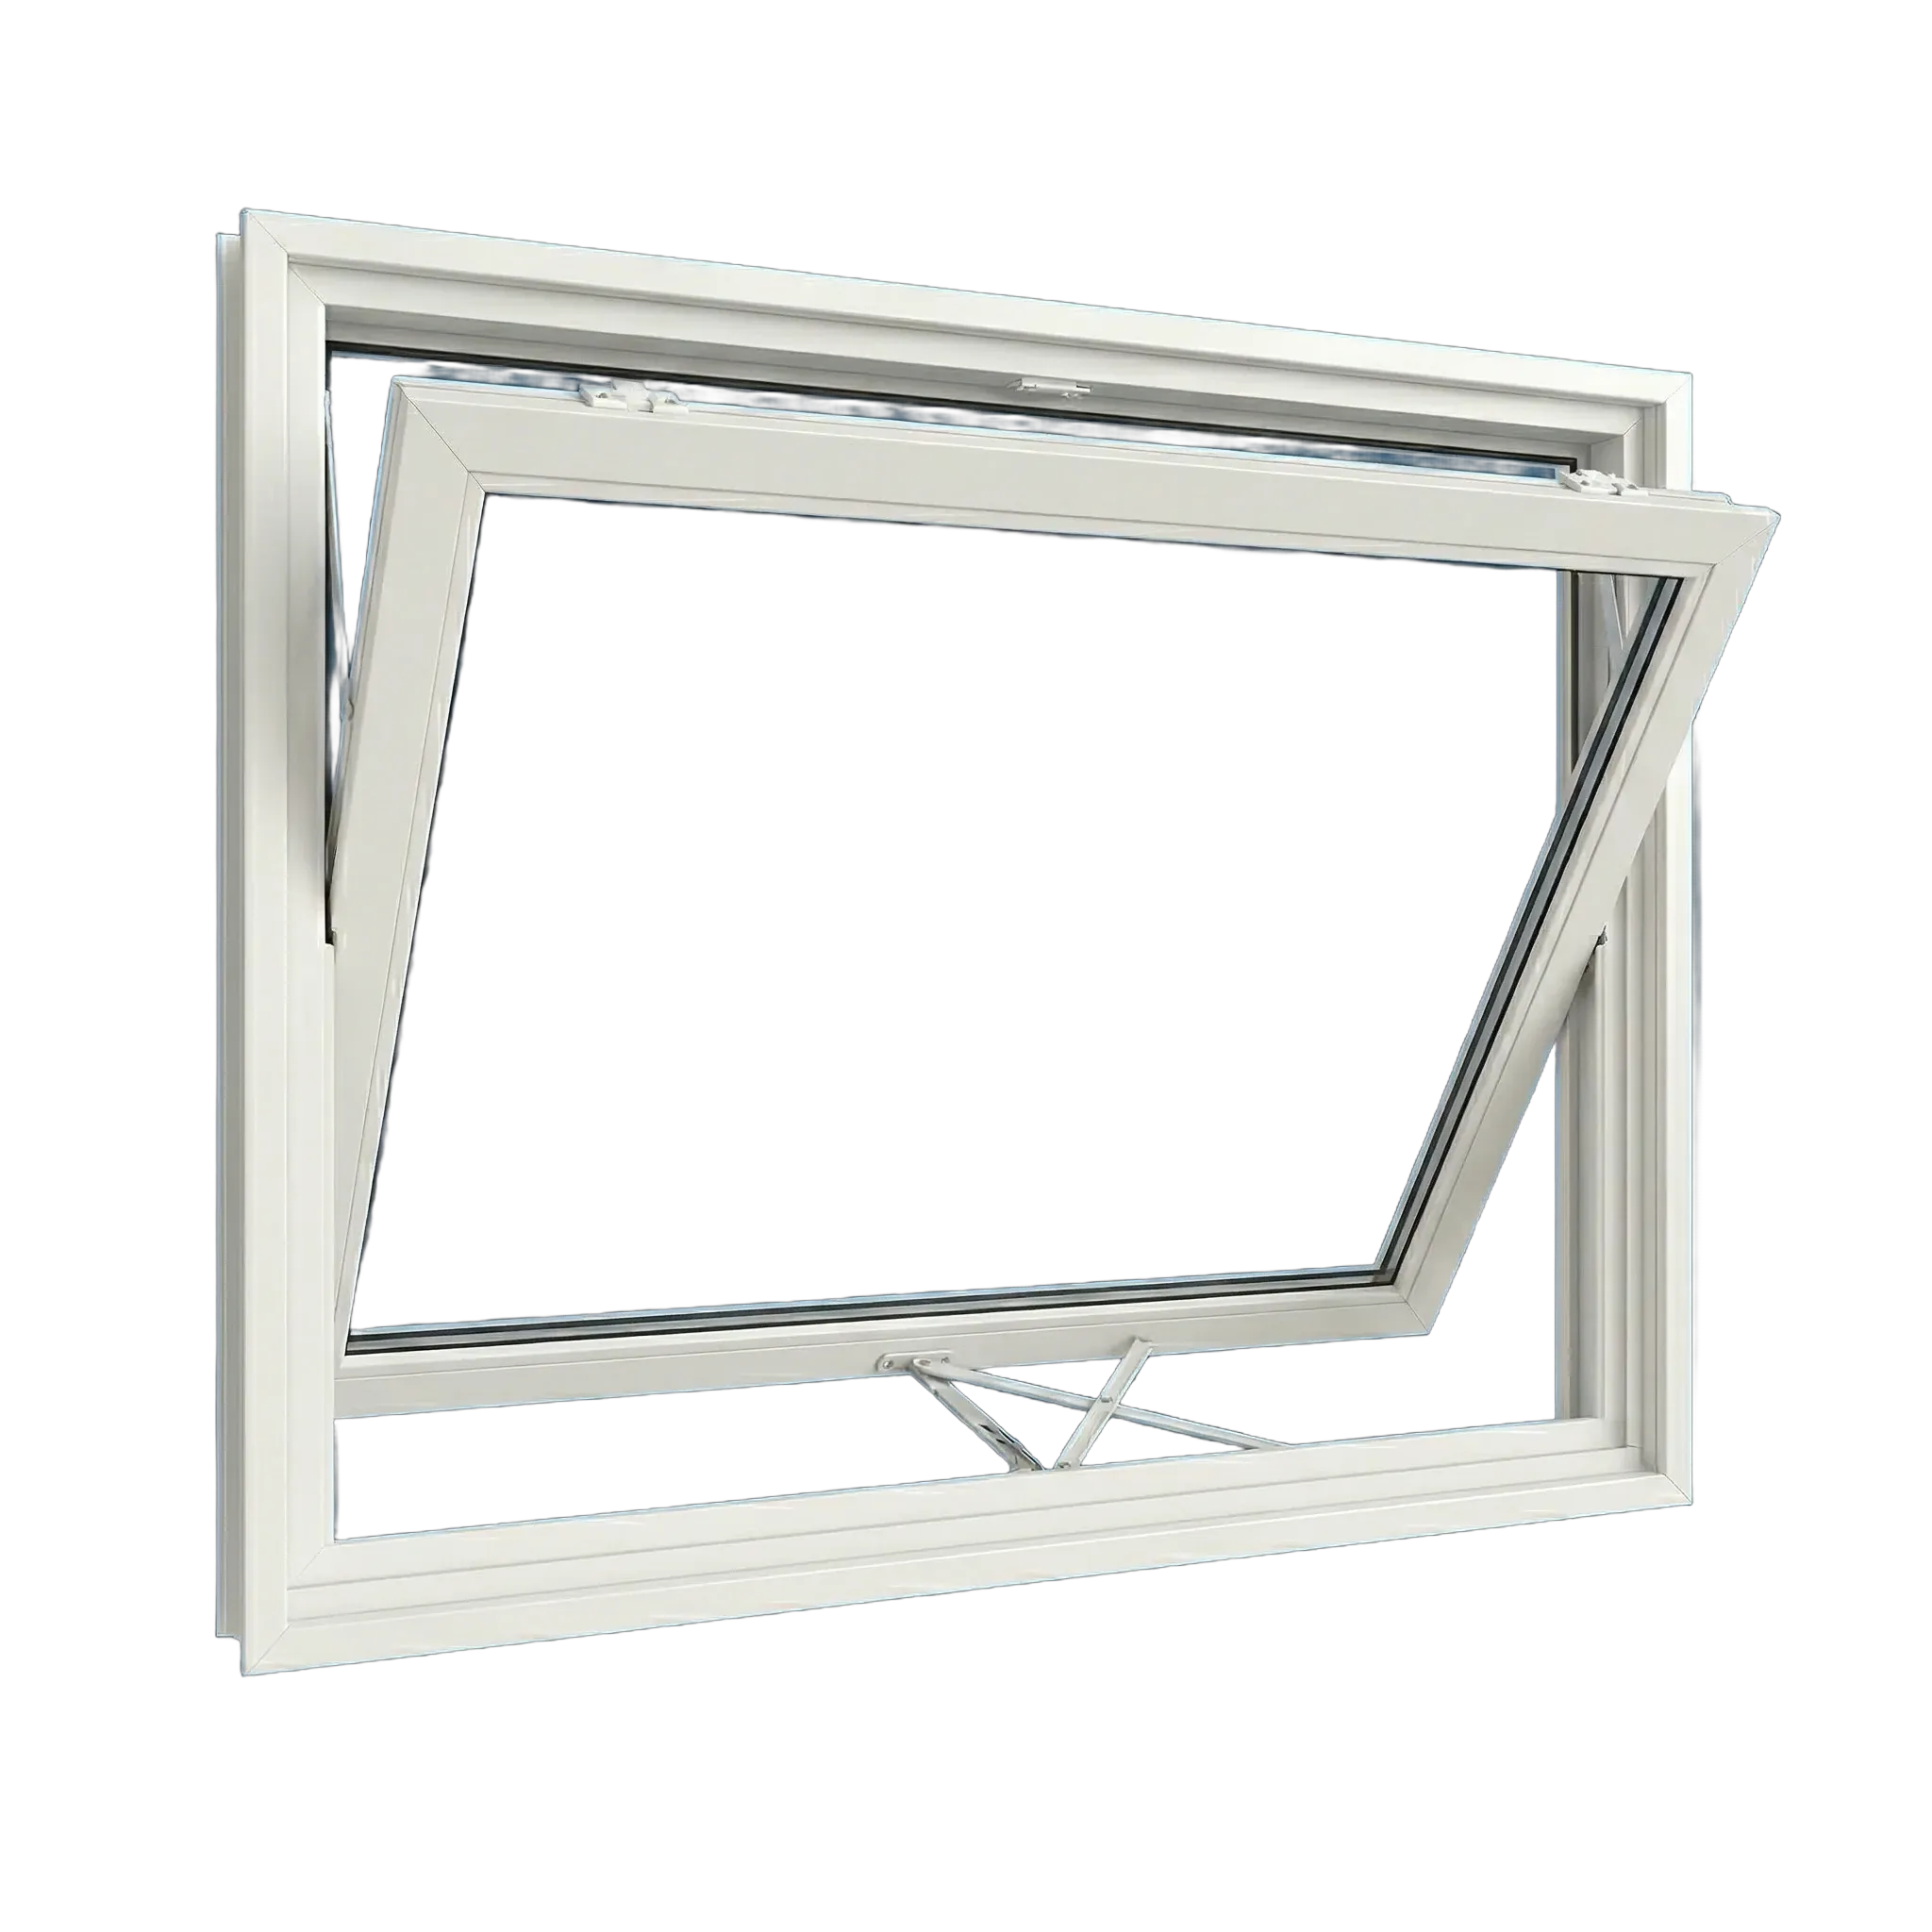
Awning
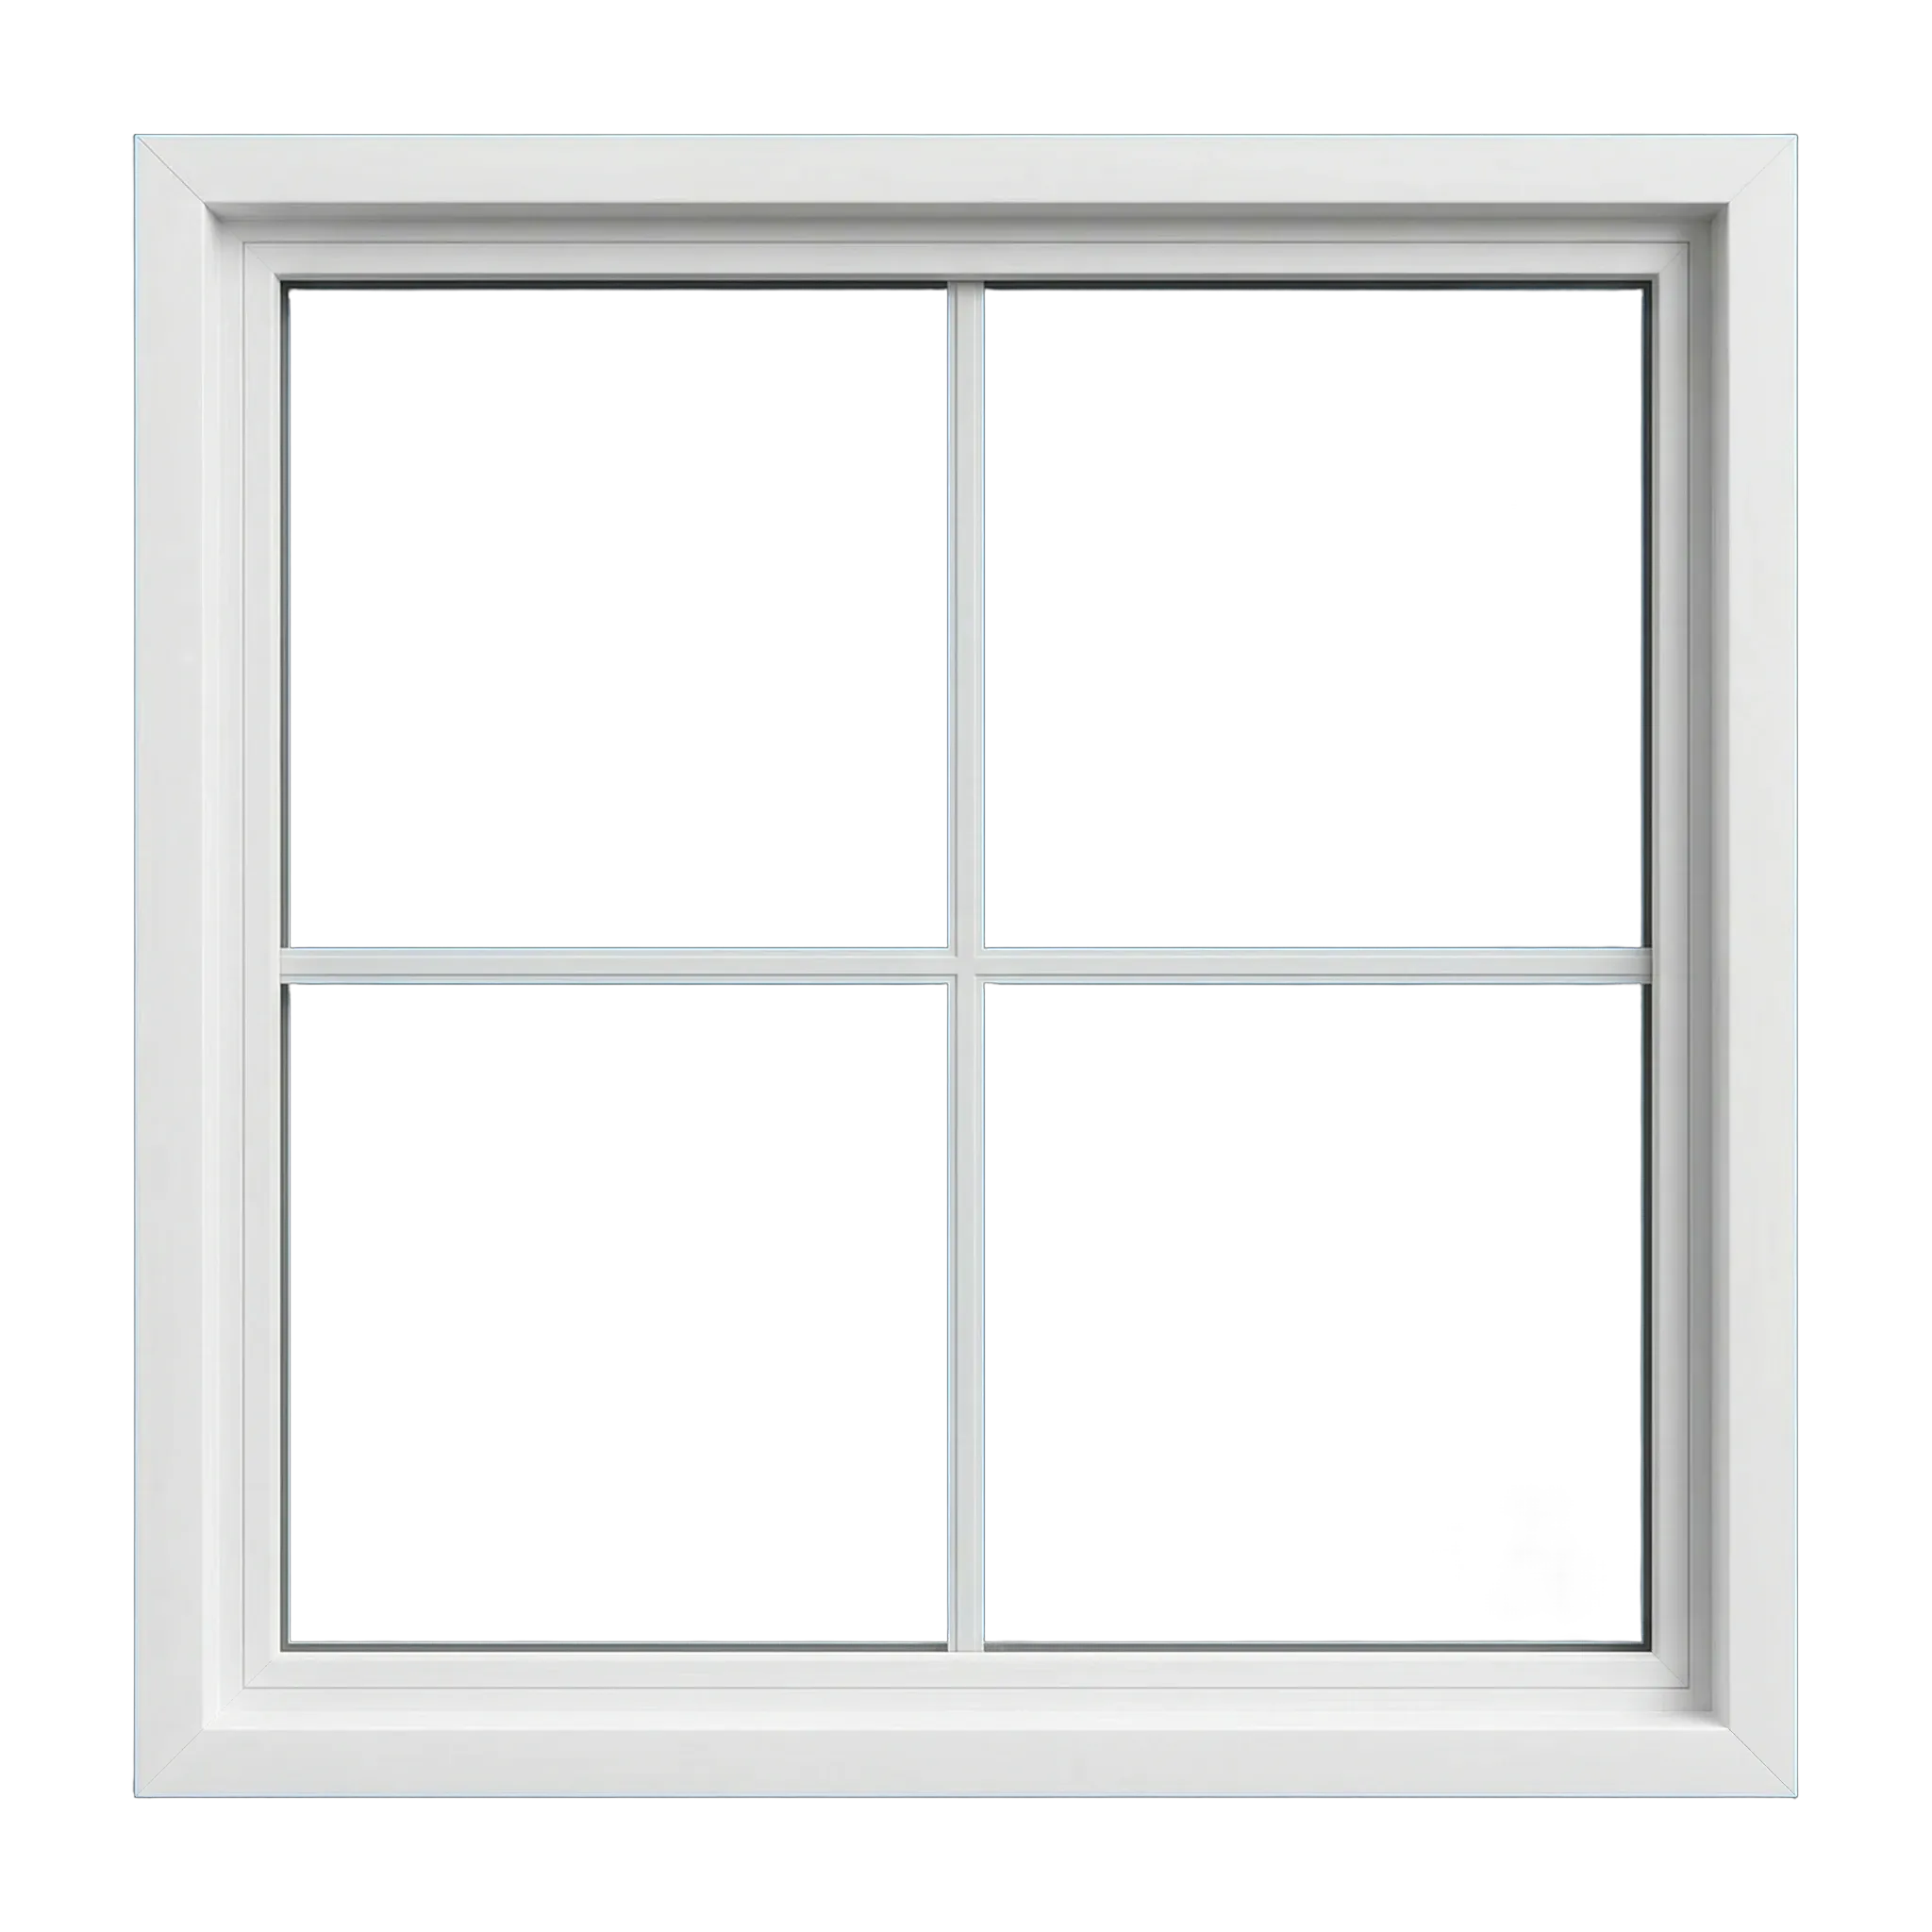
Picture
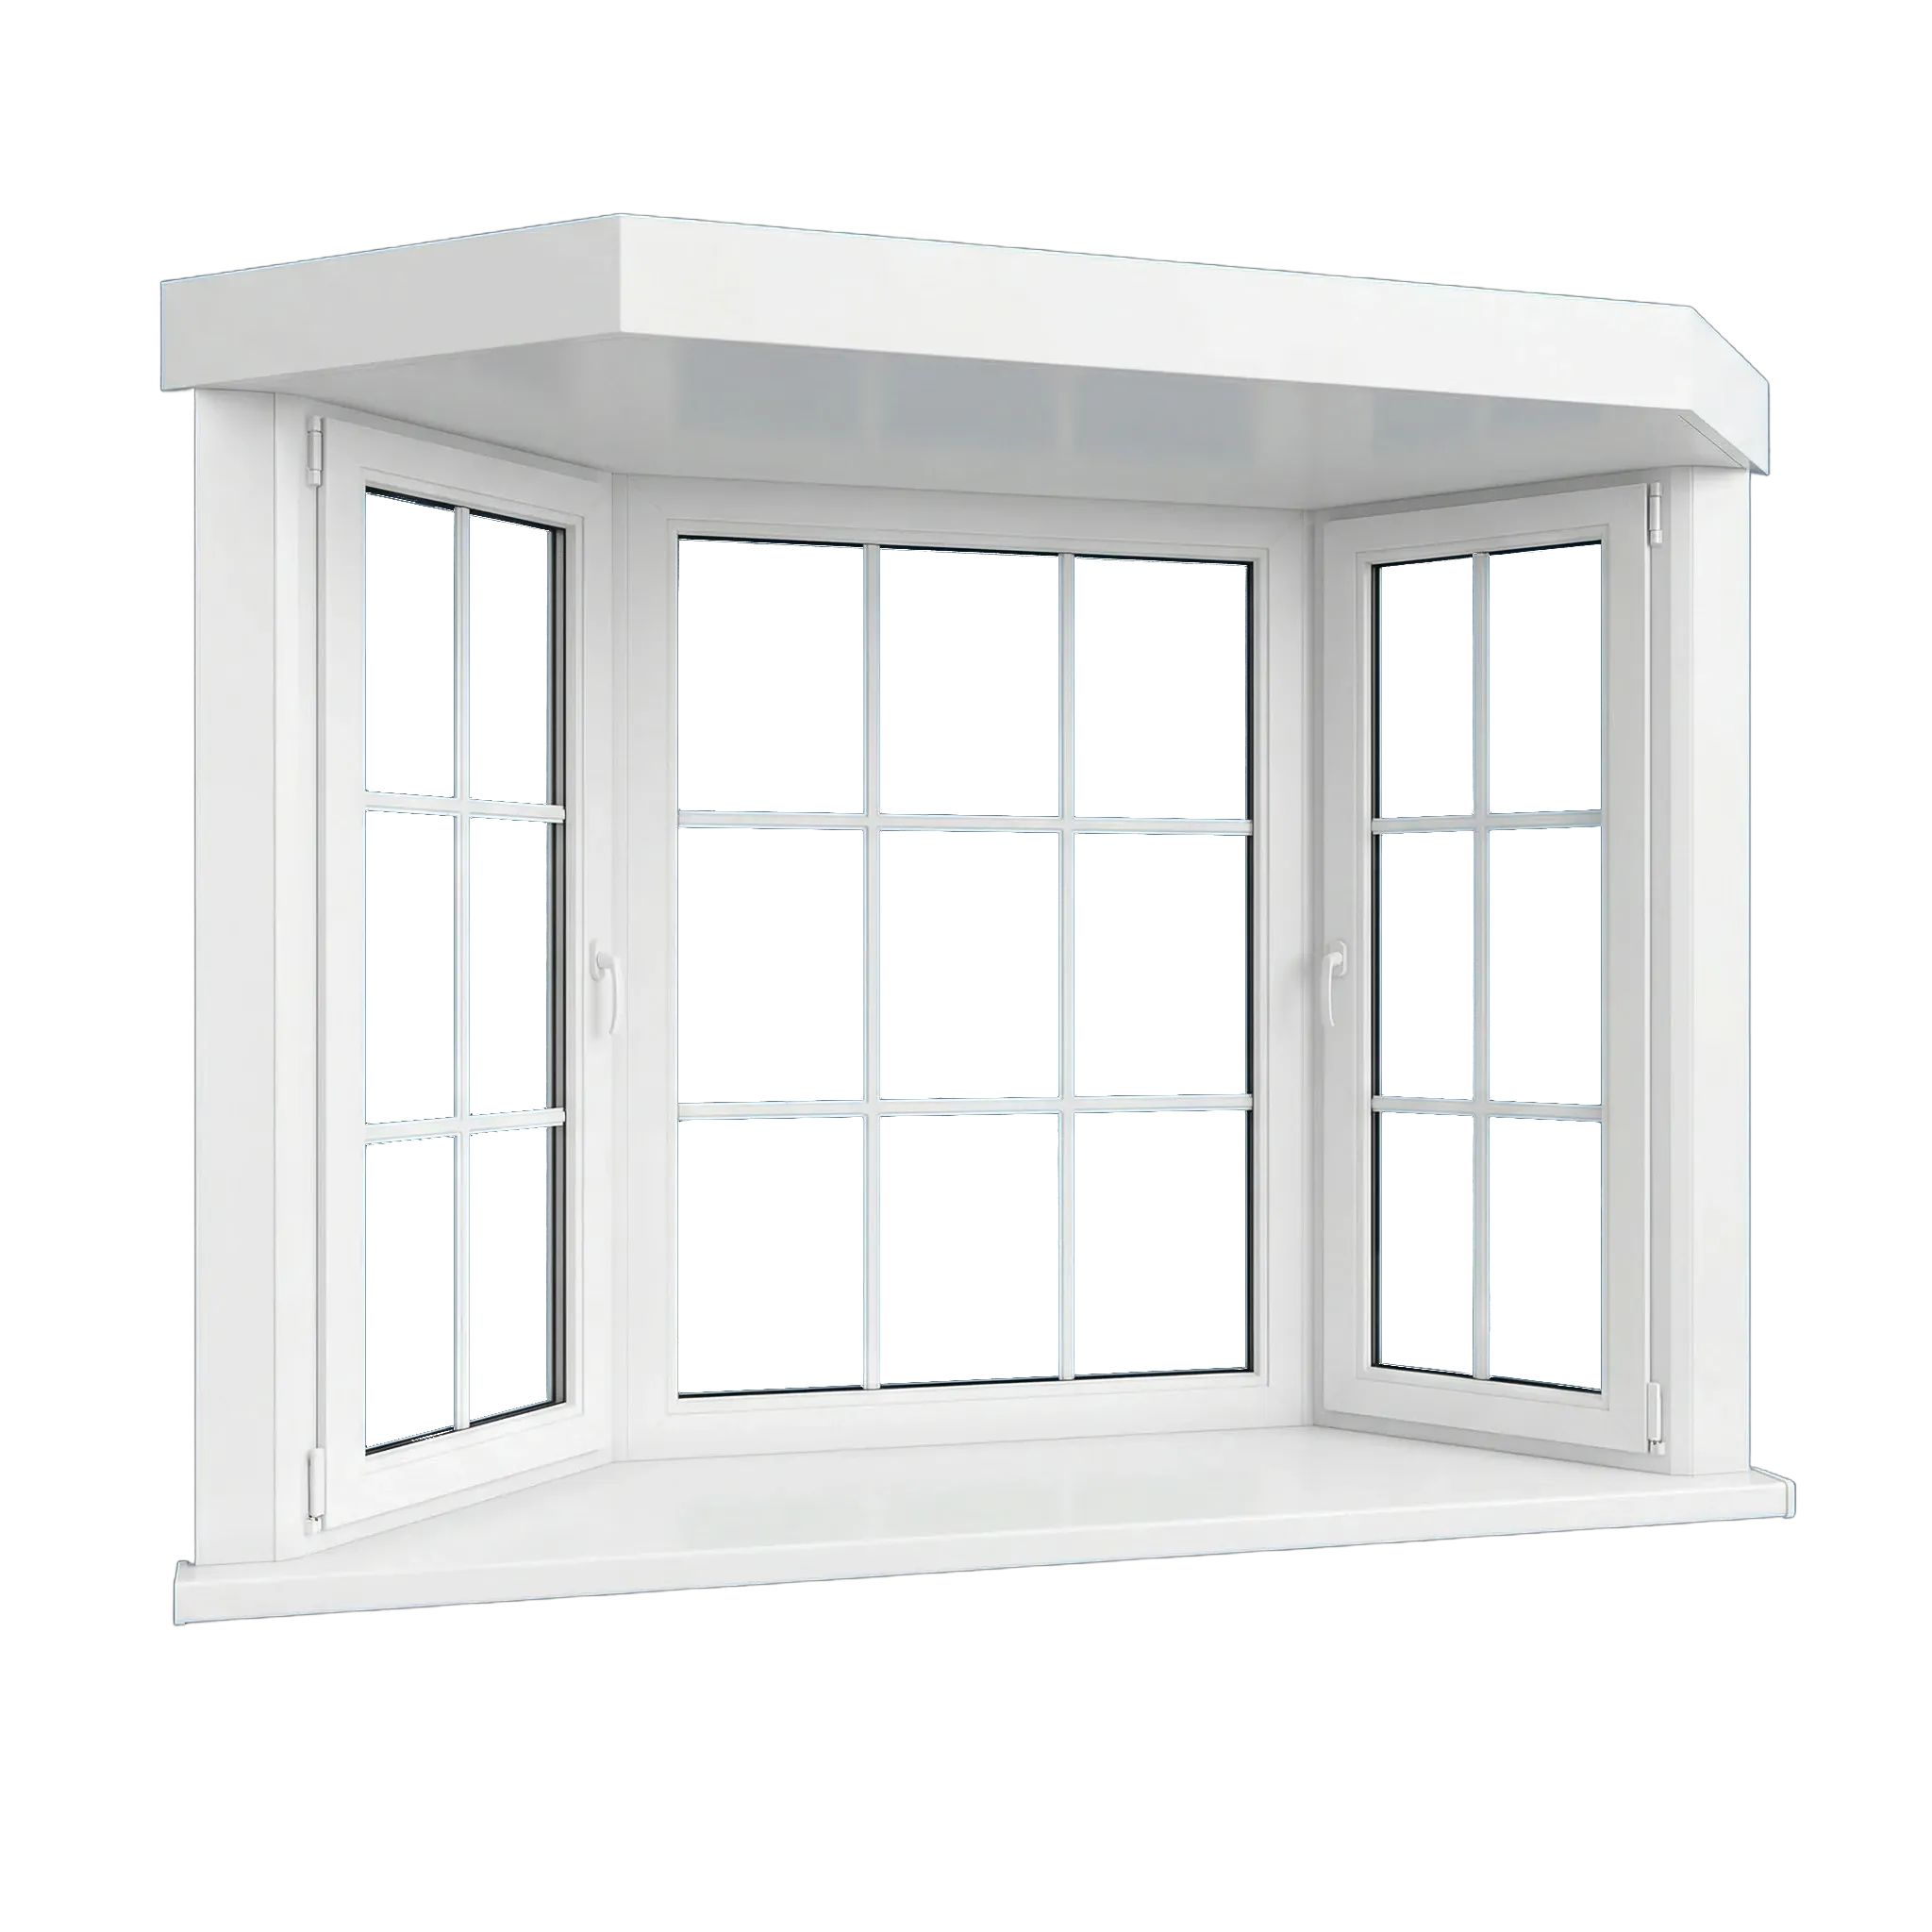
Bay & bow
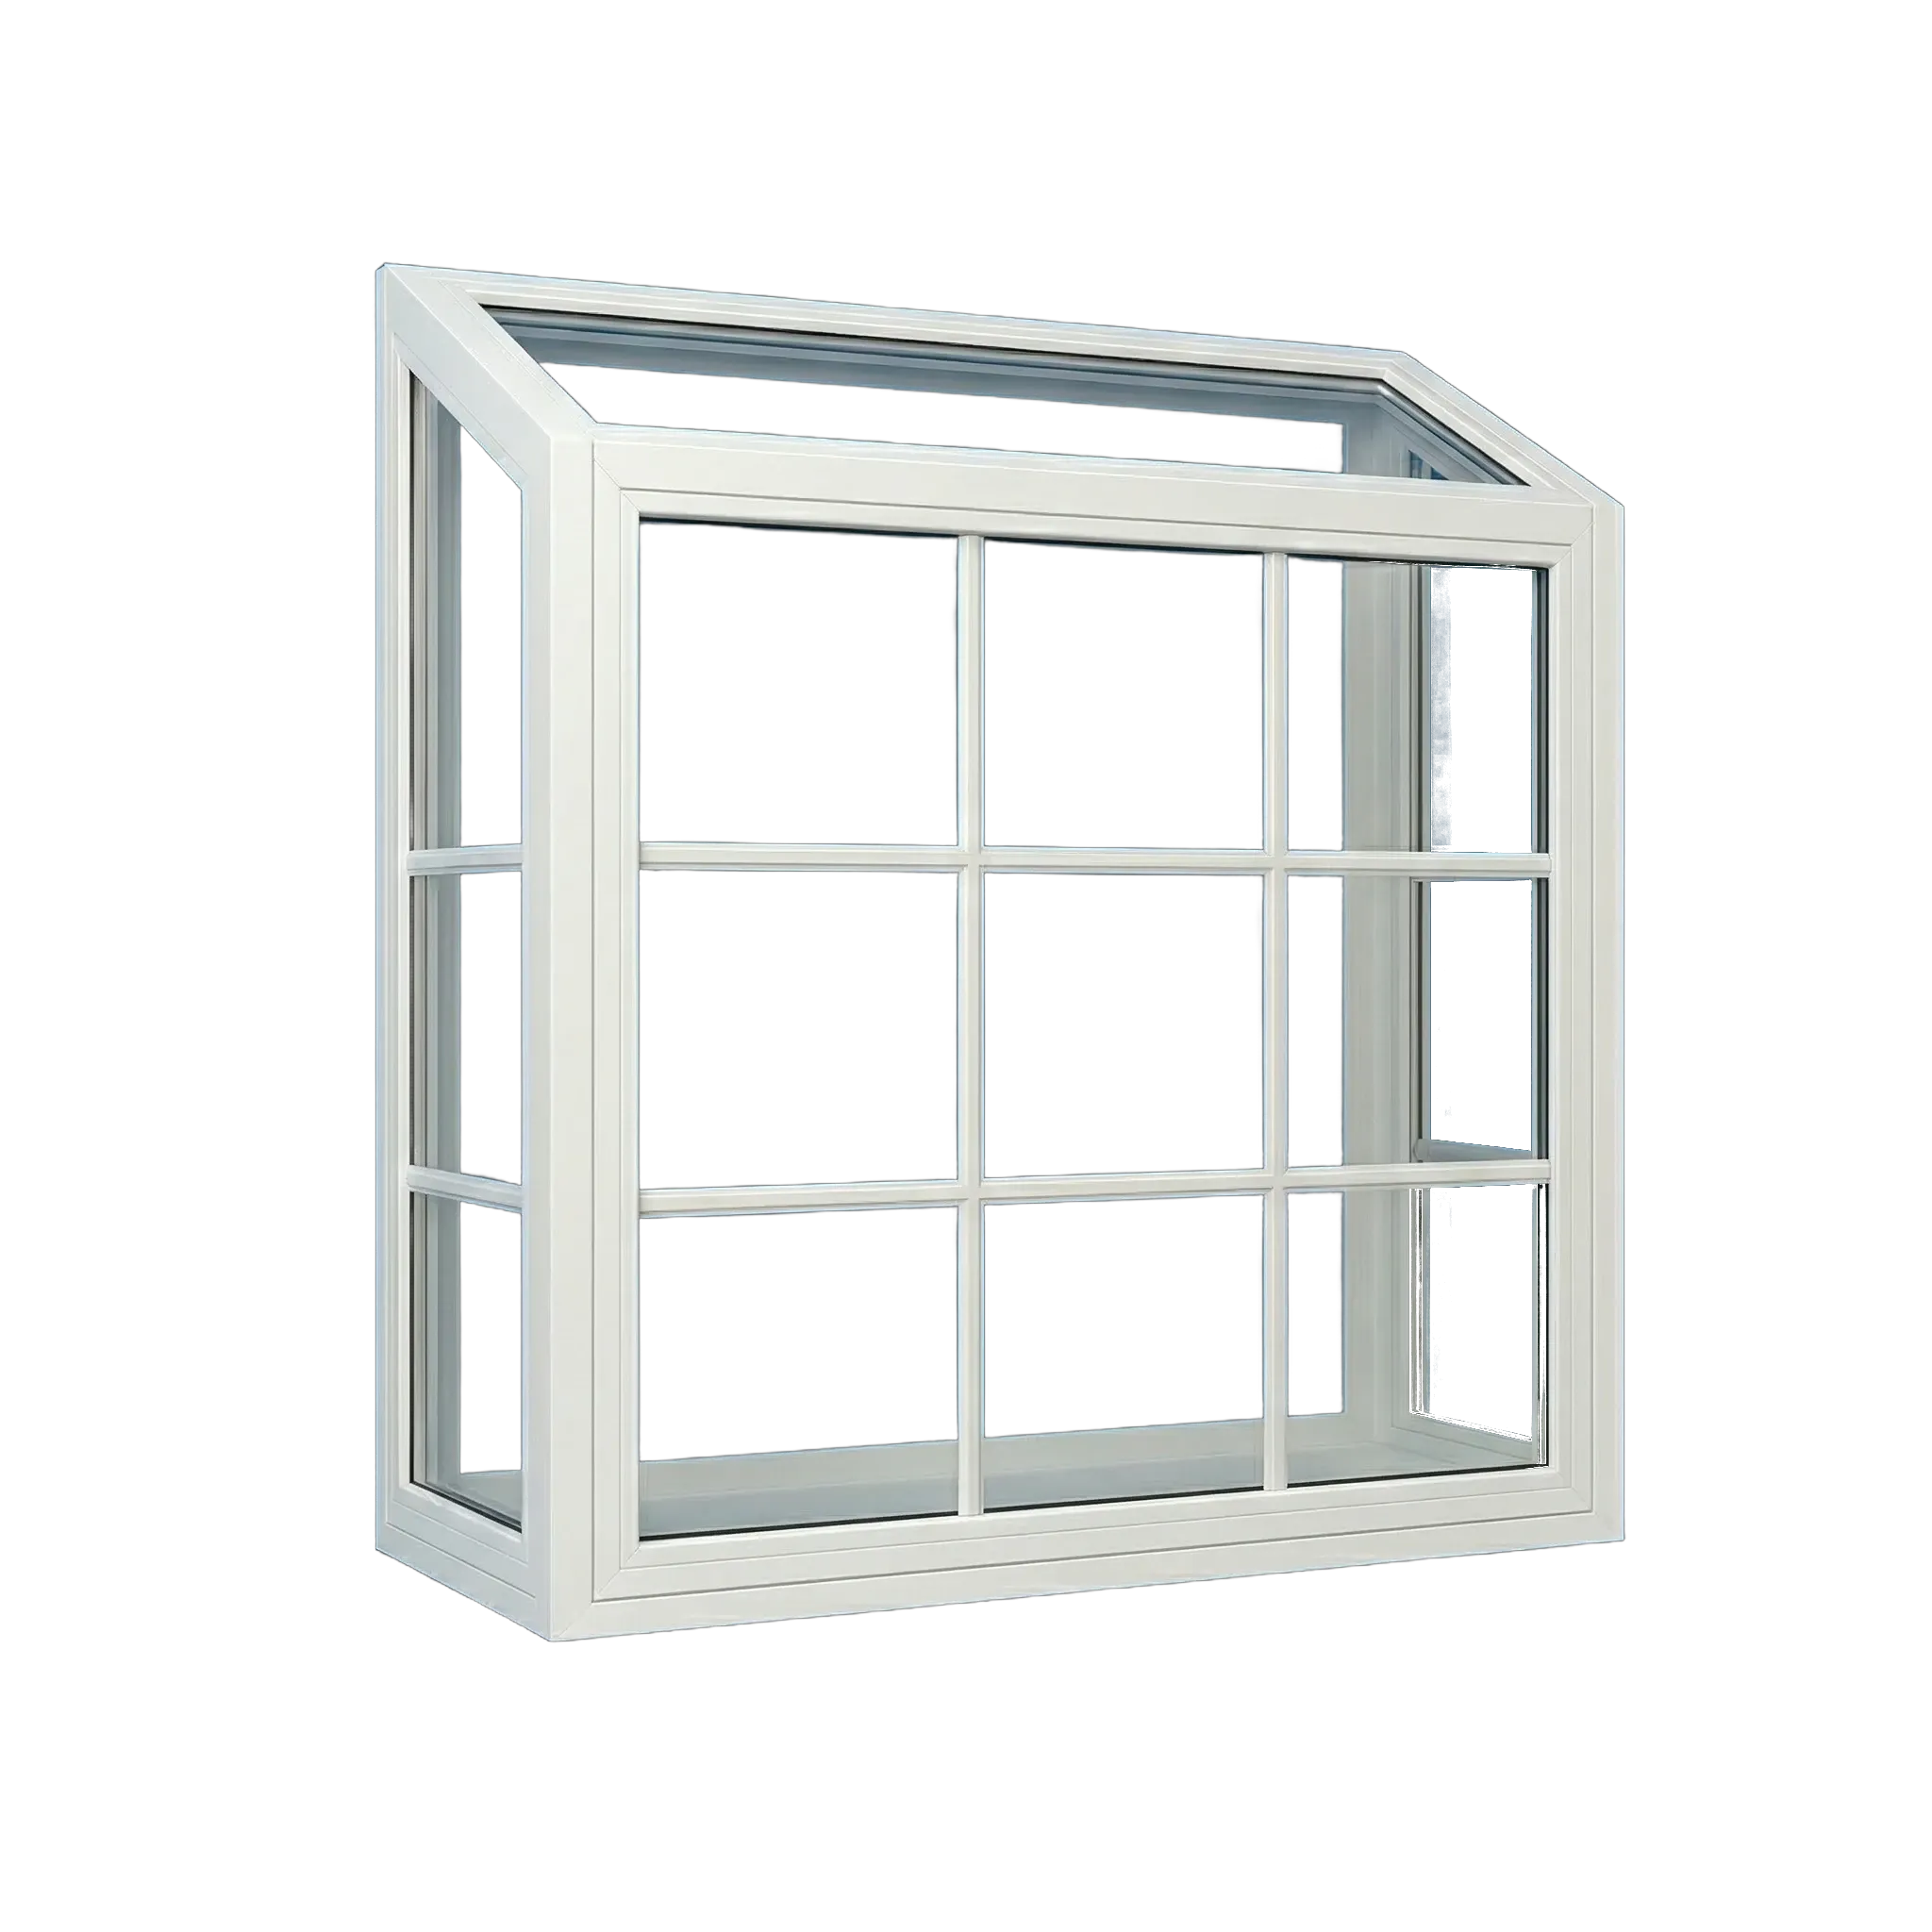
Garden
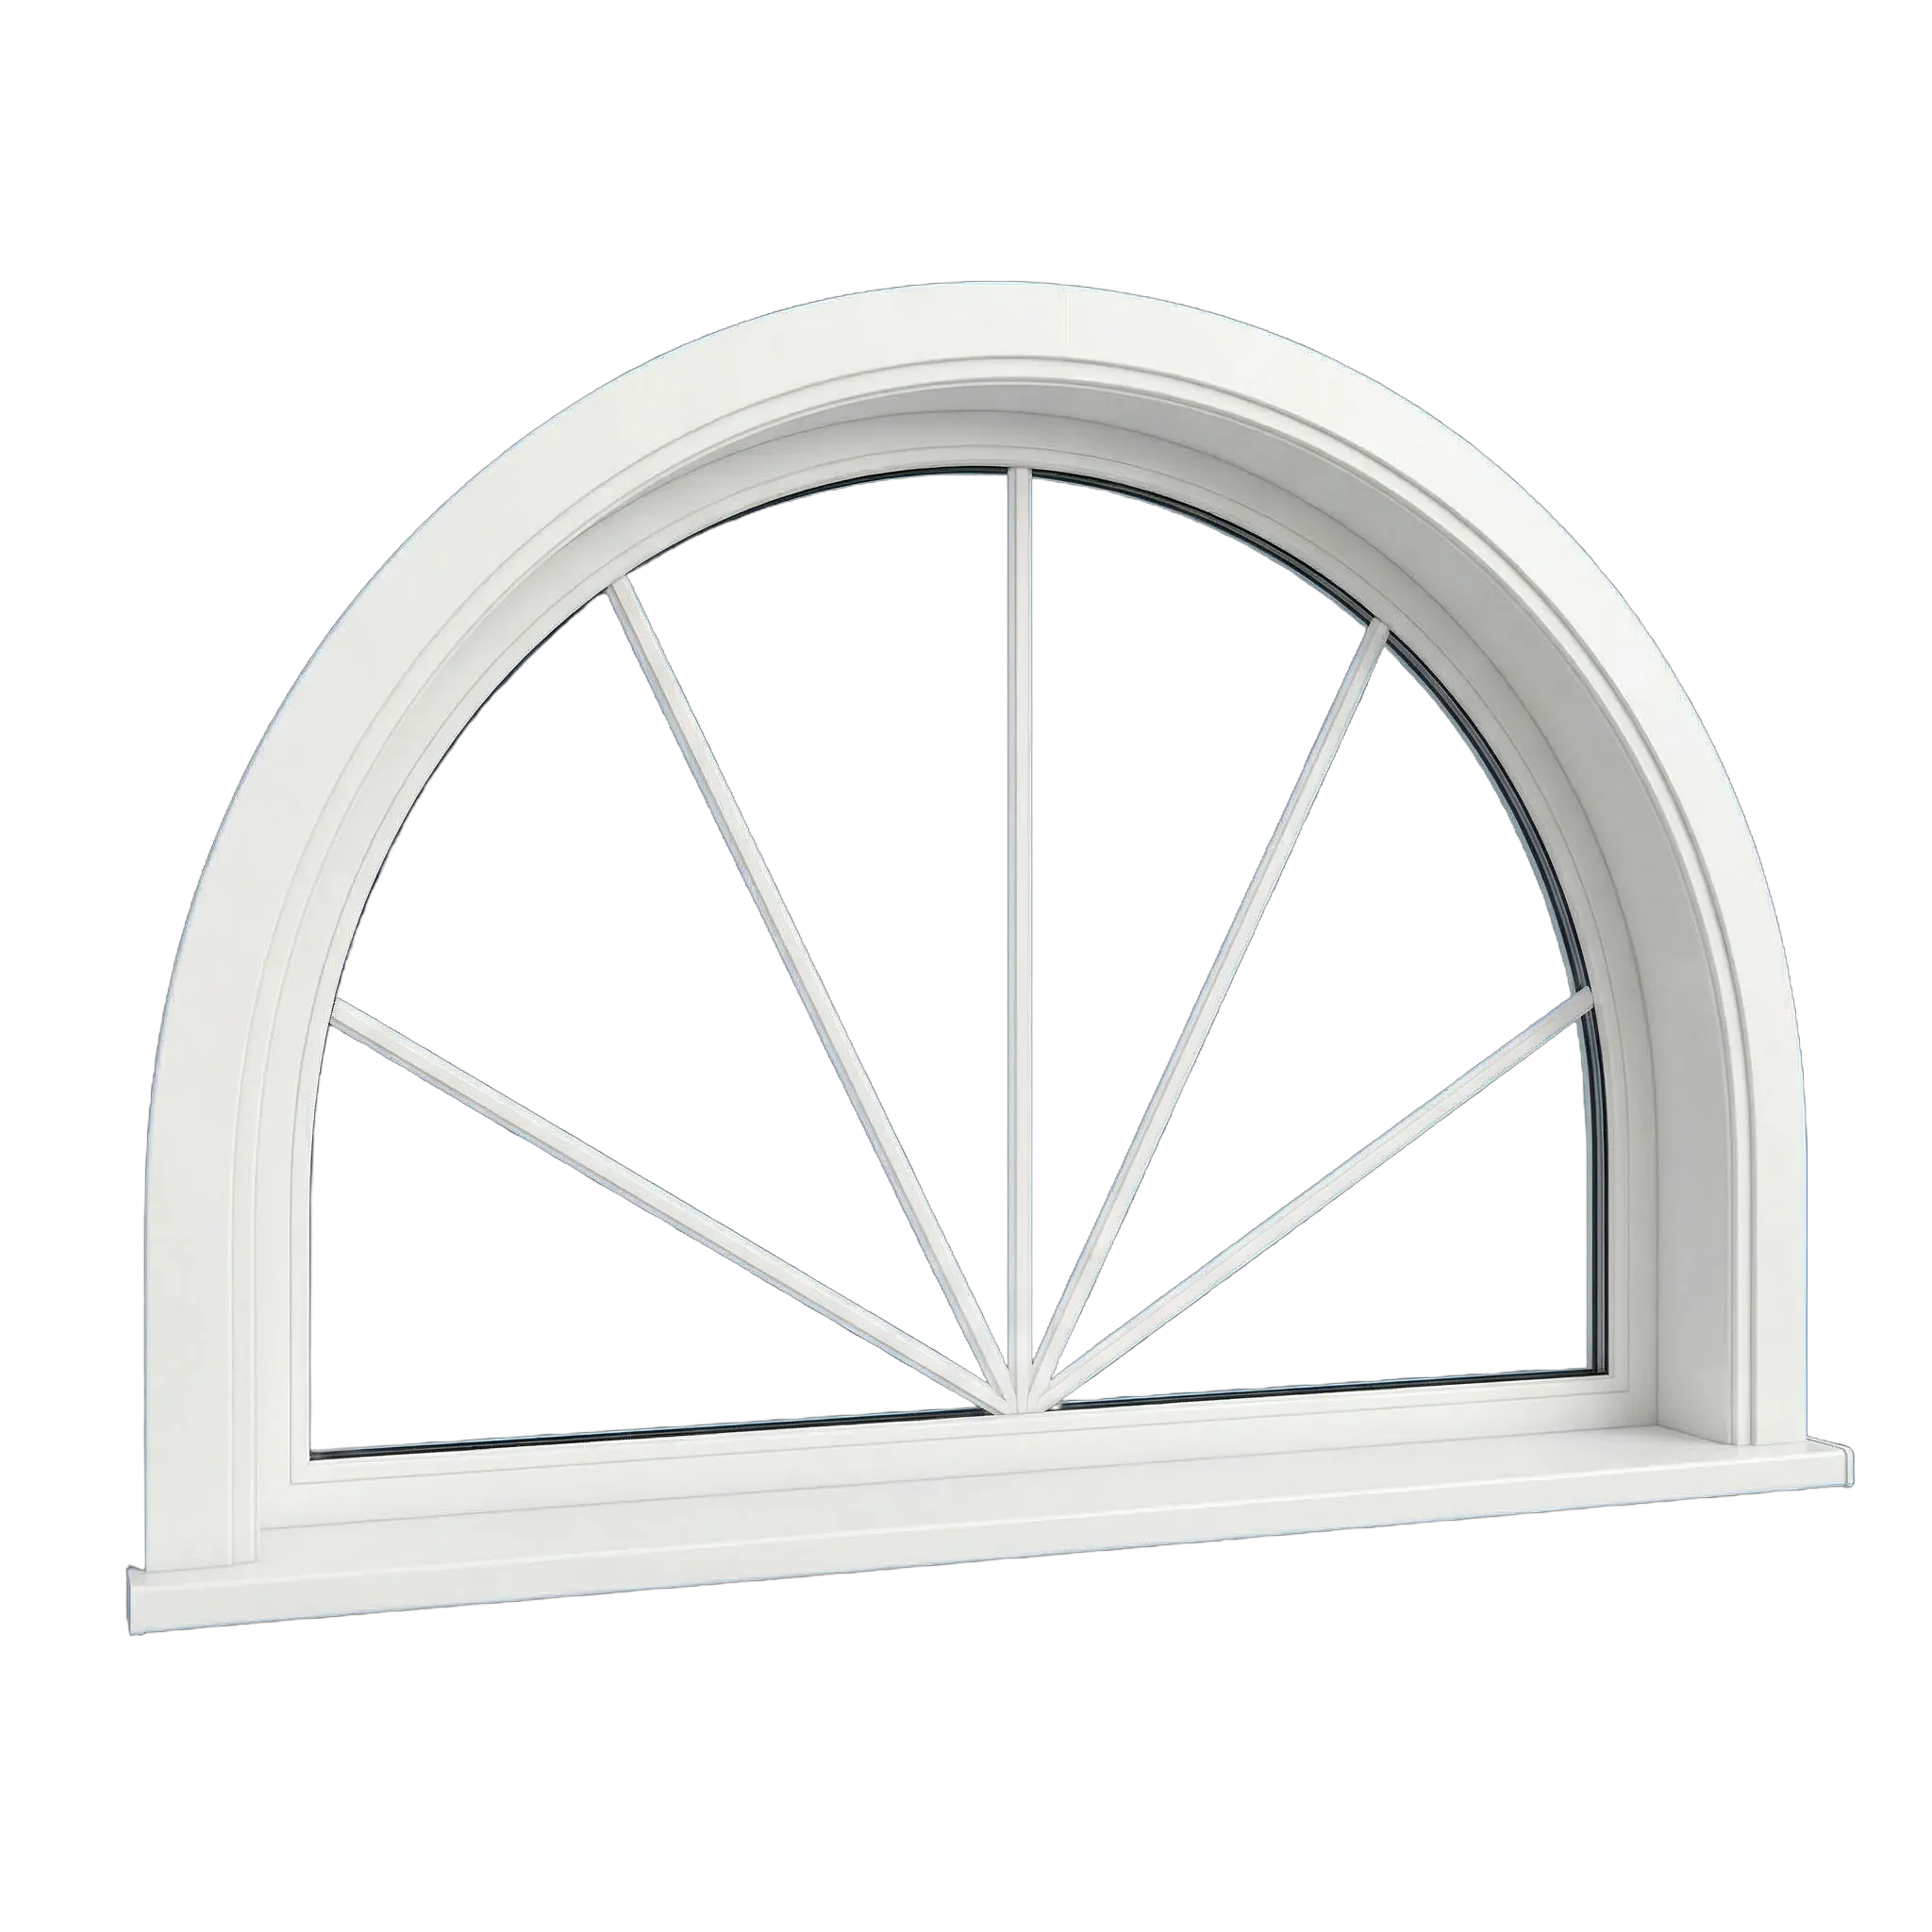
Geometric
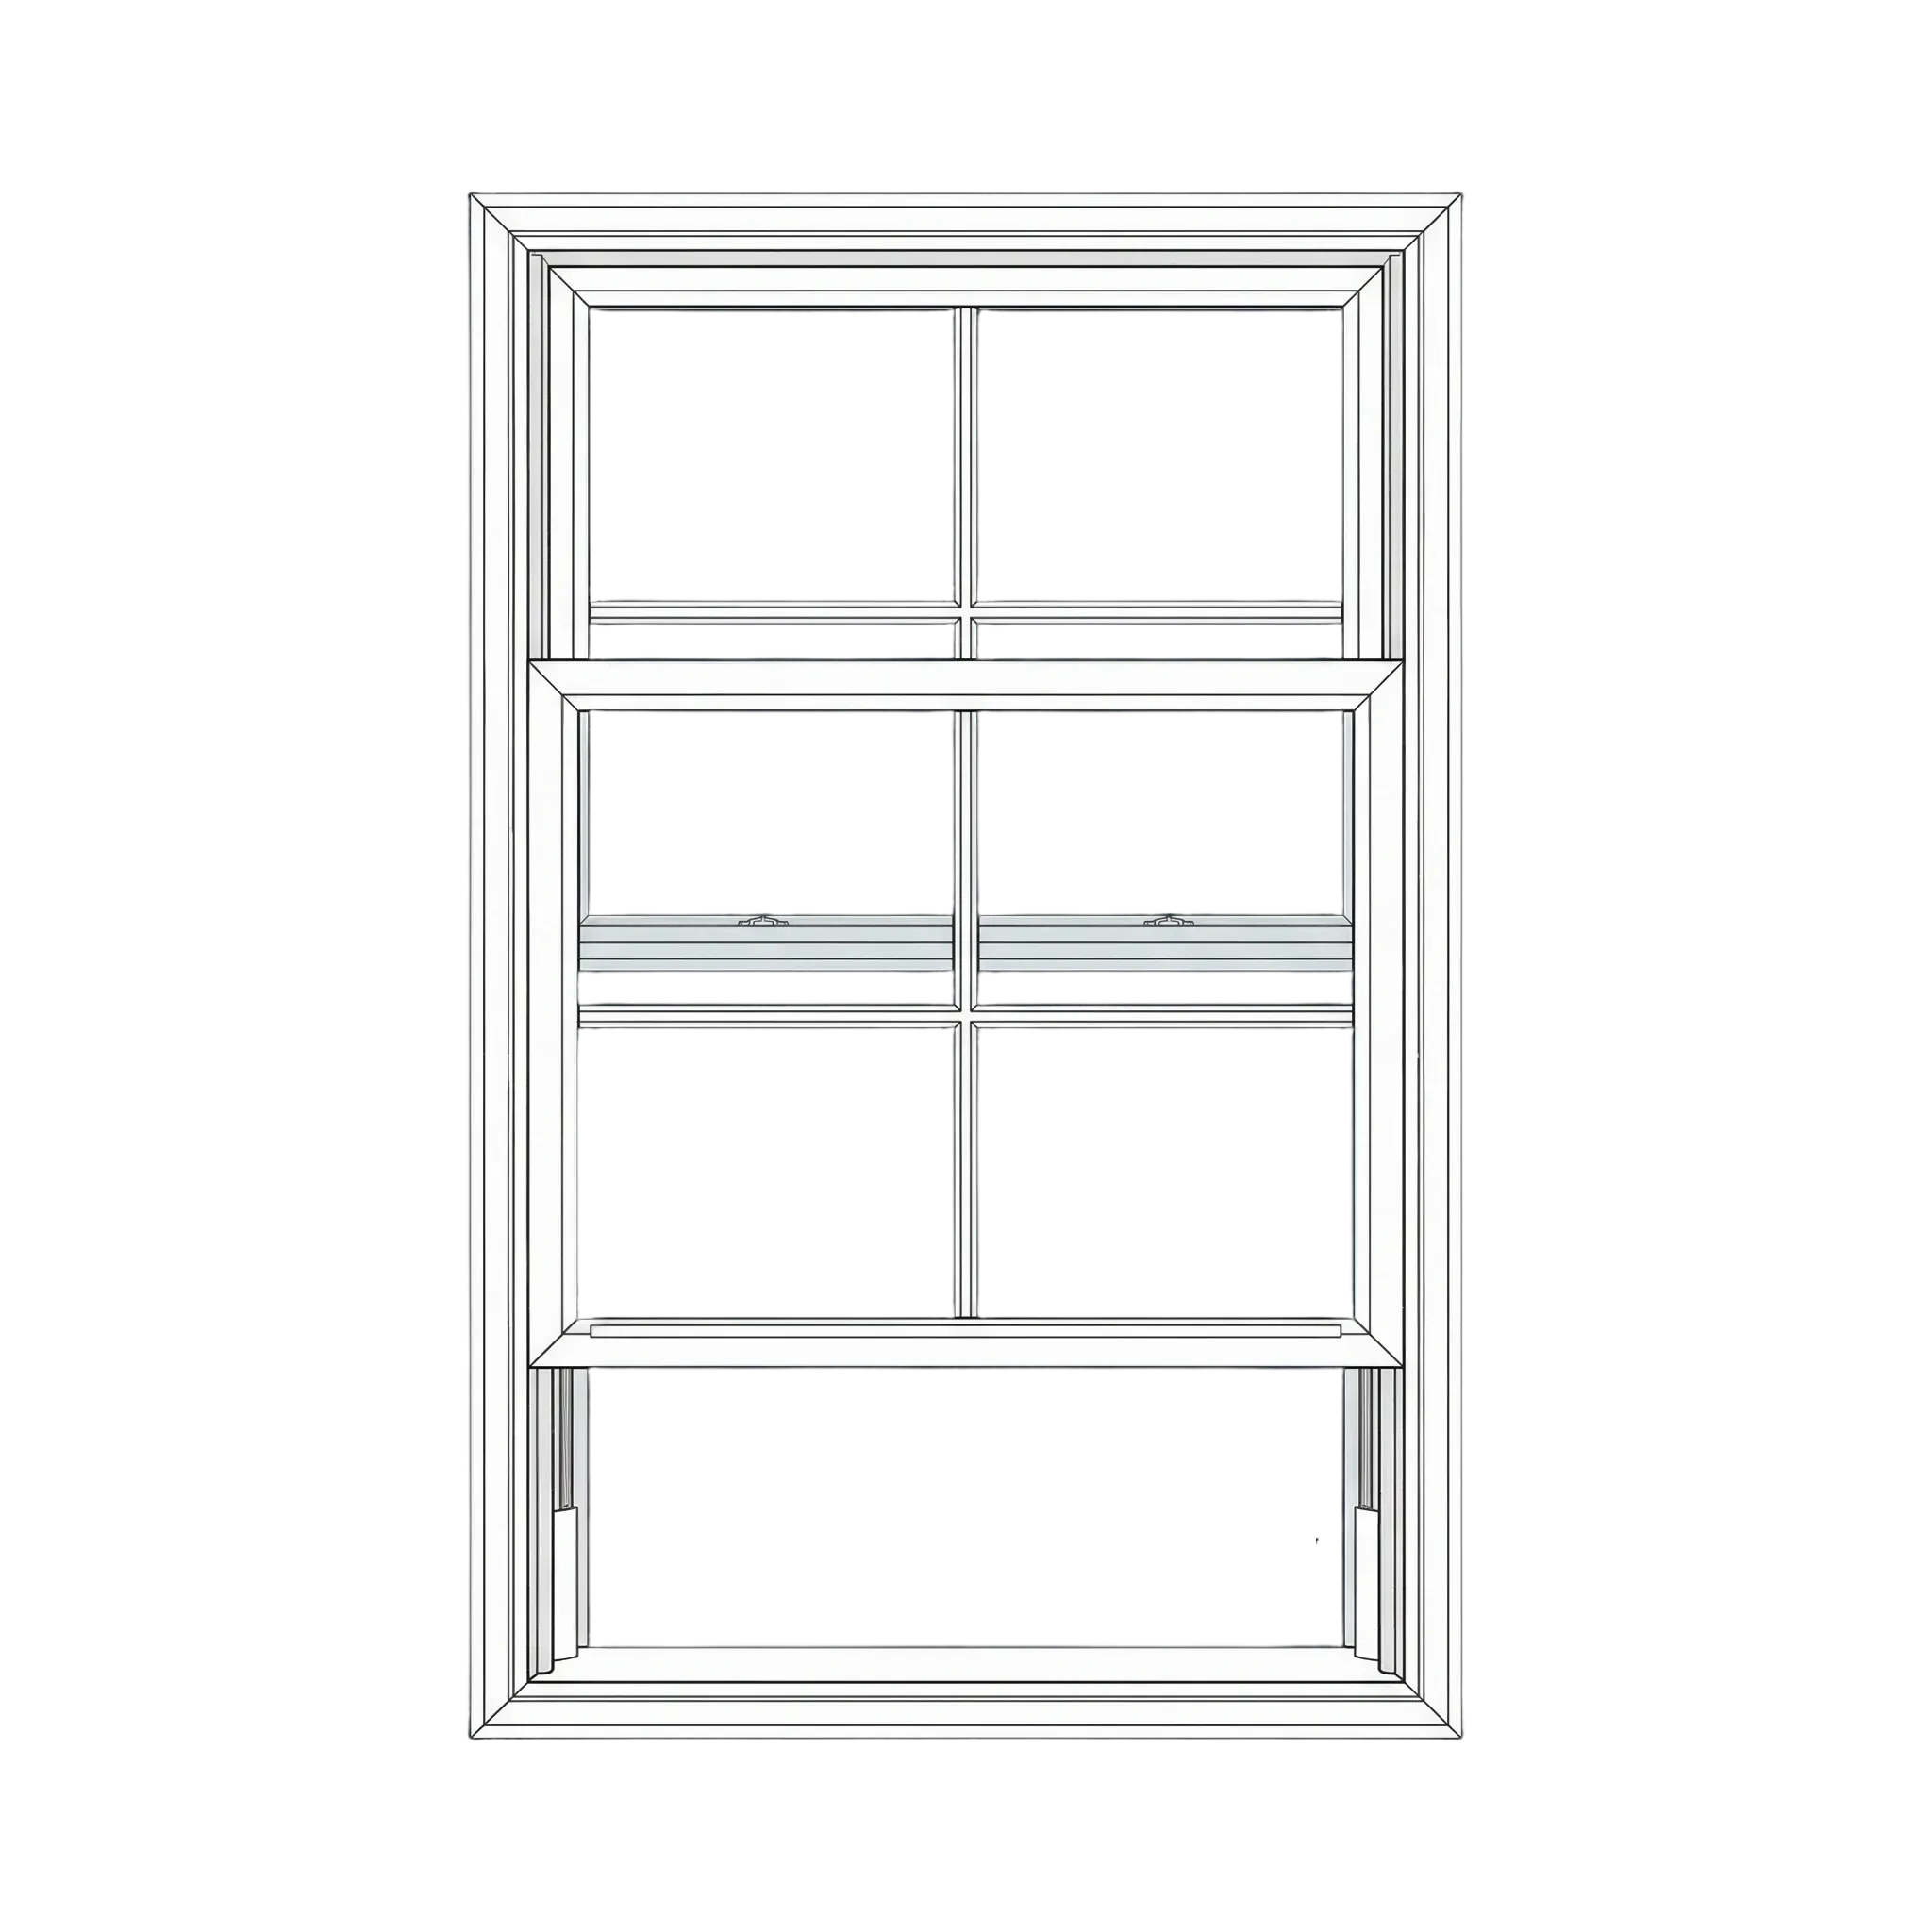
Single-hung
The lower sash moves upward for ventilation; the glazed section above it does not operate.
Installation details to compareInspect sill level, jamb alignment, sash travel, screen fit, perimeter reveals, and the retained or removed frame conditions.
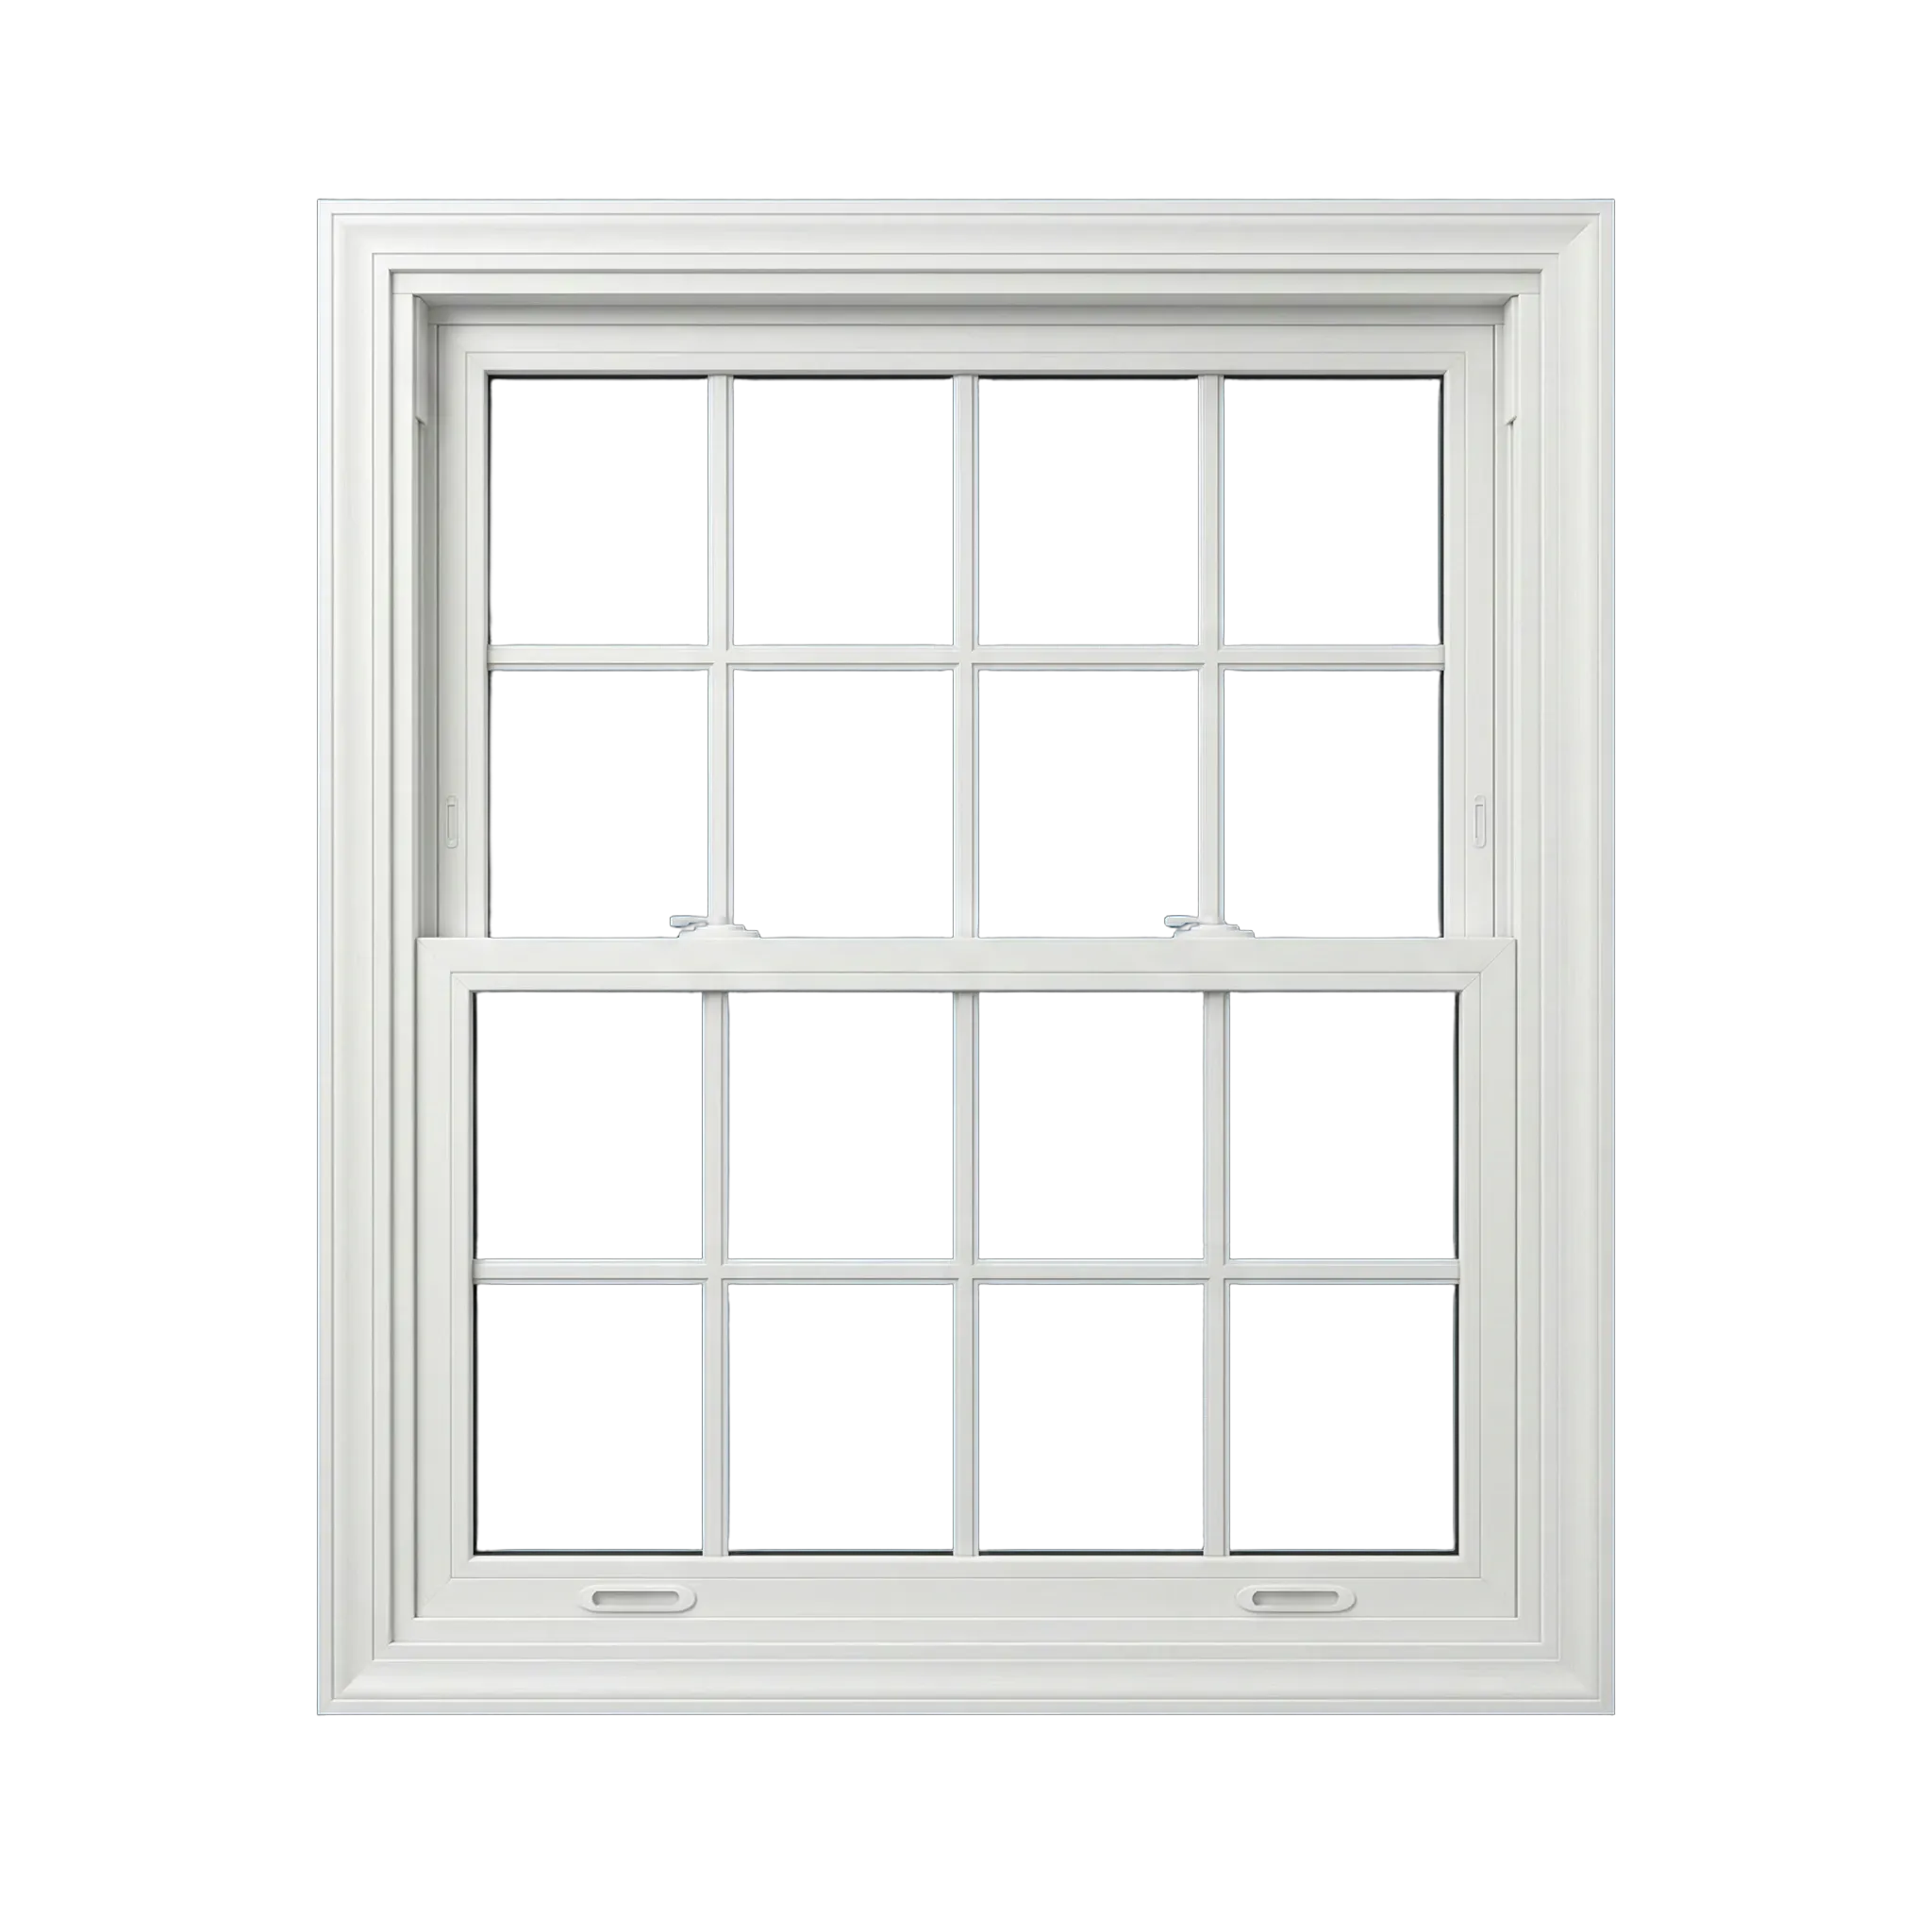
Double-hung
Both stacked sashes move, making the upper and lower portions independently operable.
Installation details to compareTwo moving sashes make square and level installation, balance, lock alignment, even gaps, and smooth final operation especially important.
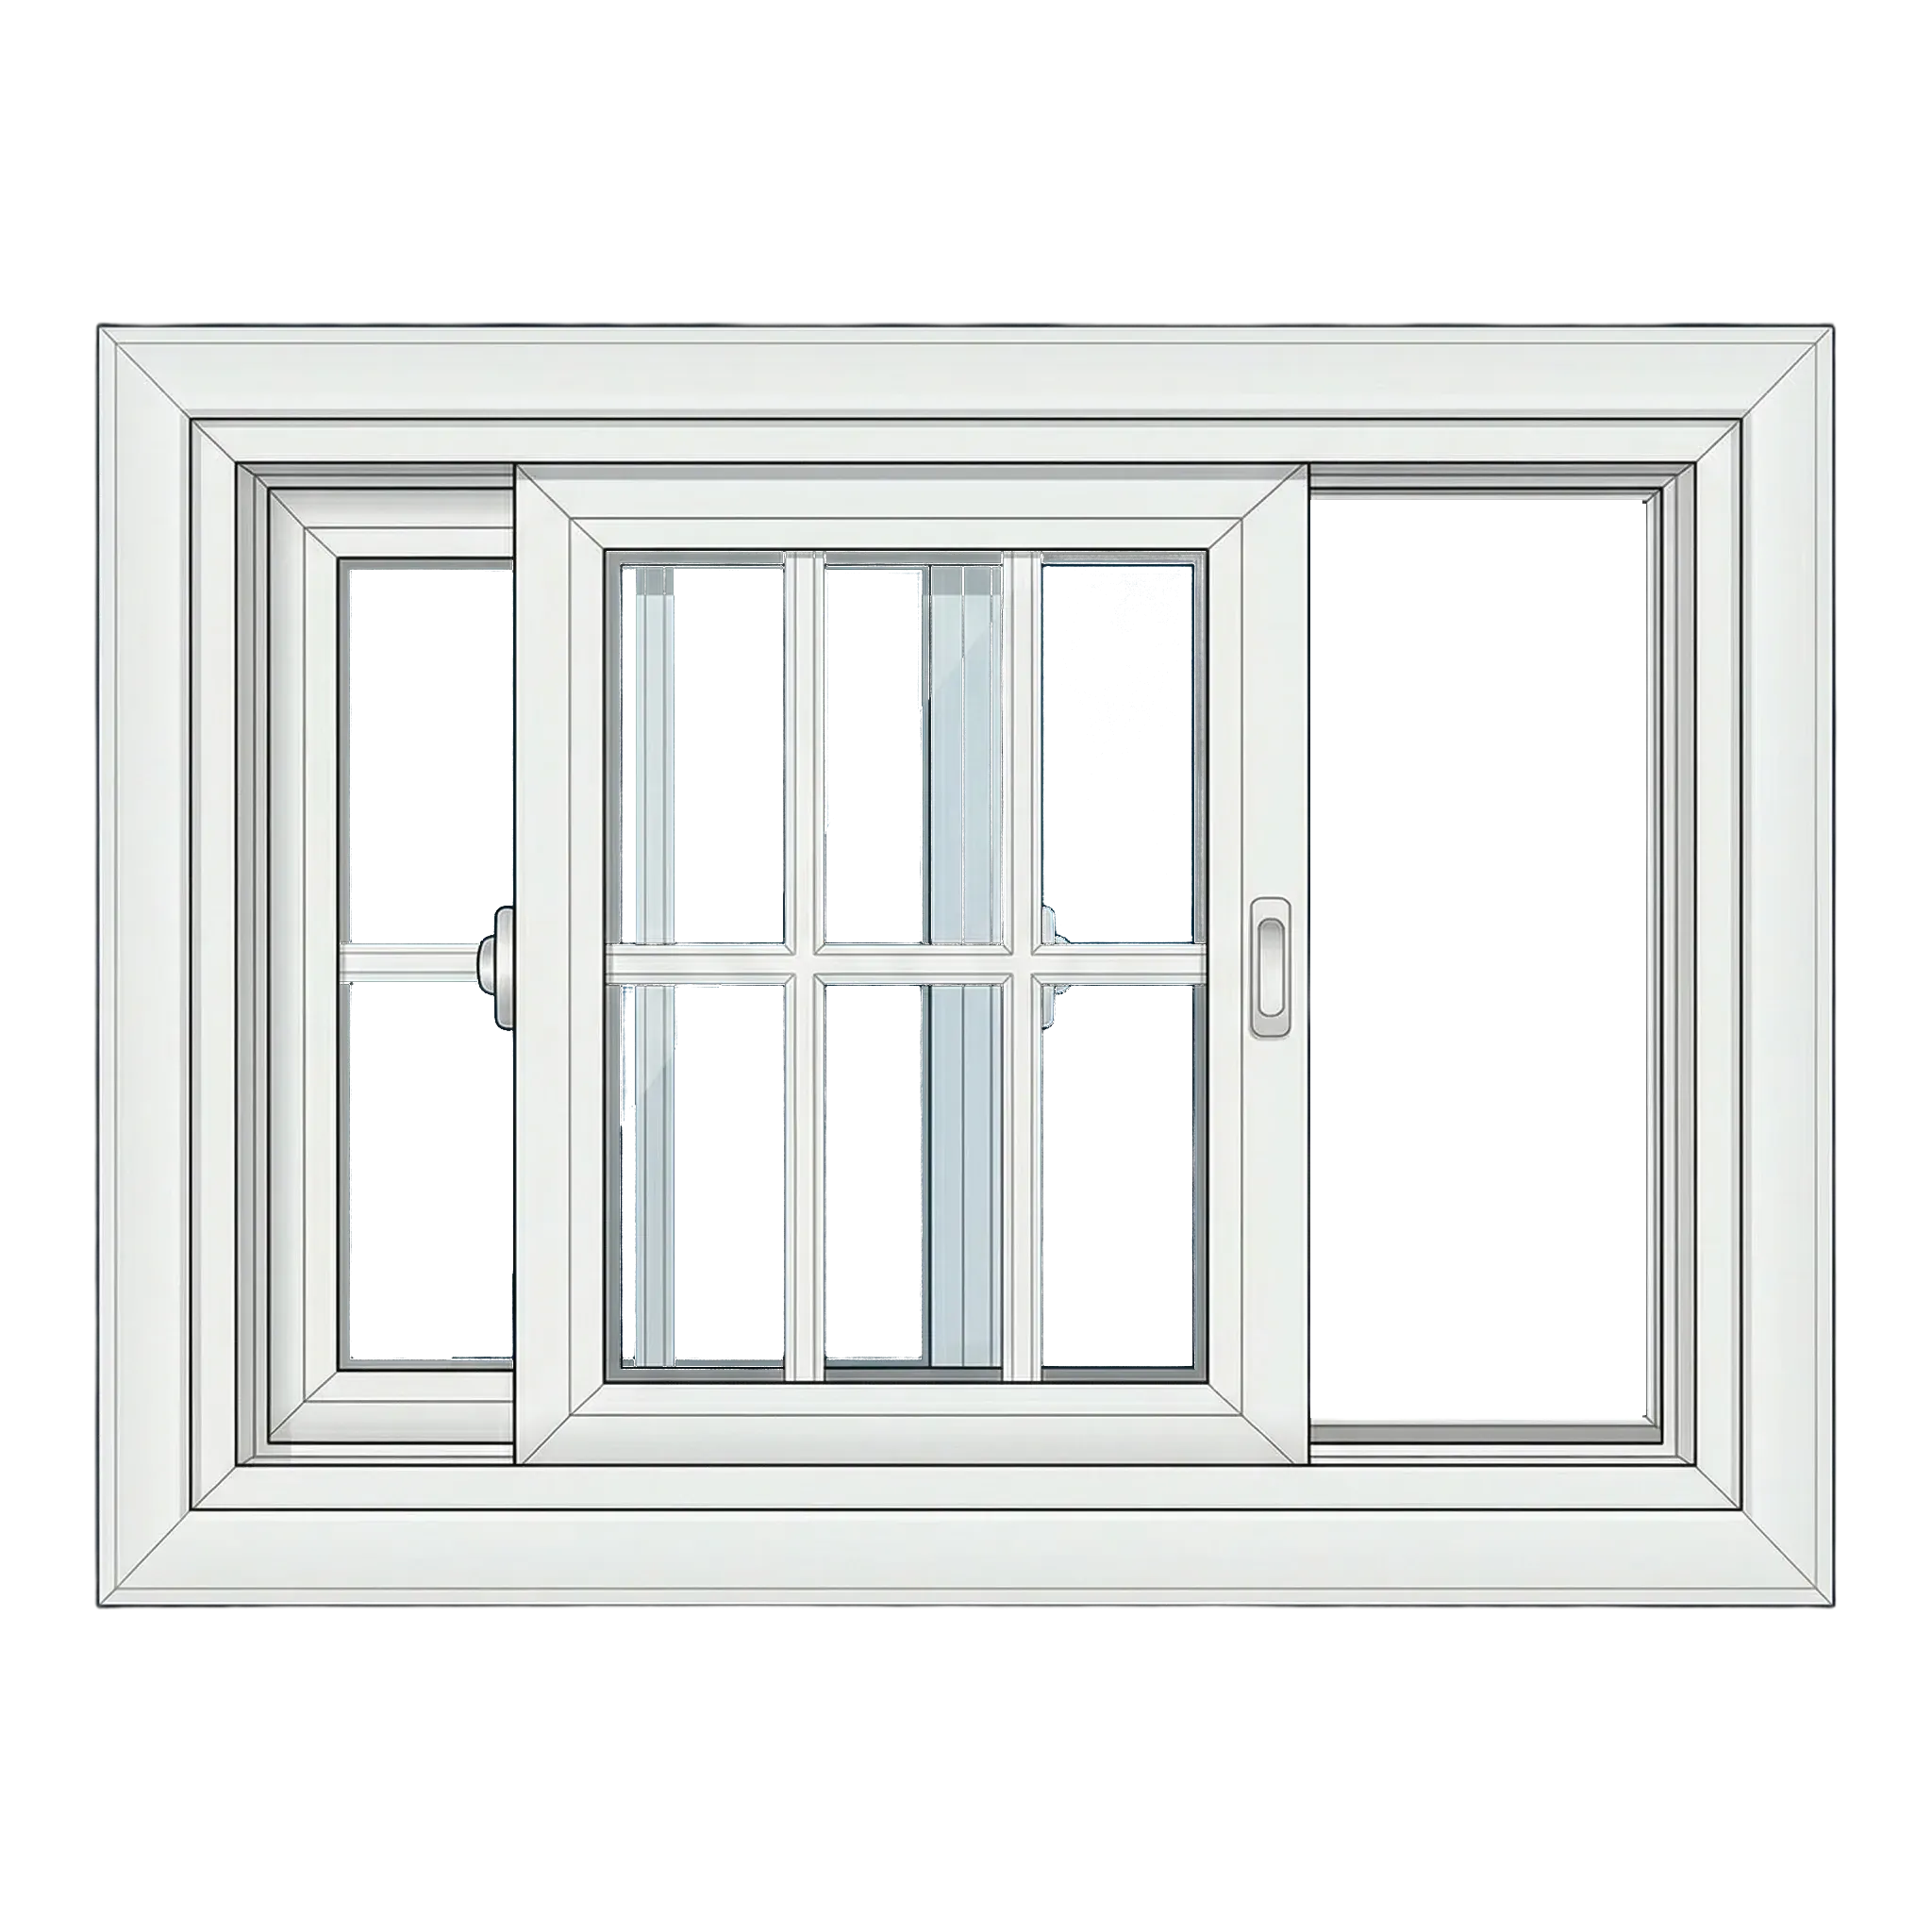
Single slider
One sash moves across the sill beside a second panel that stays in place.
Installation details to compareUse the horizontal track to discuss sill support, drainage paths, panel travel, interlock alignment, and a consistent finished edge.
Double slider
Two side-by-side sashes slide horizontally, opening the frame from either direction.
Installation details to compareBoth moving panels depend on level setting, aligned interlocks, smooth rollers, working locks, fitted screens, and a clean sill.
Casement
A crank moves the side-hinged sash outward, so operation extends beyond the exterior plane.
Installation details to compareCheck the frame shape, even sash gaps, lock engagement, crank operation, screen fit, and exterior clearance after the window is set.
Awning
The bottom of the sash pushes outward while hinges secure its top edge.
Installation details to compareProjection hardware and sash alignment need room to operate, while head, sill, perimeter, and exterior clearance remain inspectable.
Picture
A picture window is entirely fixed: it supplies glazing but no ventilation opening.
Installation details to compareBecause there is no moving sash to test, check that the window is level, the glass is undamaged, the gaps are even, and the trim and labels are complete.
Bay & bow
At least three joined units extend beyond the wall, forming an interior and exterior projection.
Installation details to compareA projecting unit requires clear plans for support, head and seat conditions, roof or cap work, and every finished edge.
Garden
A compact glazed projection creates a shelf-like volume on the room side of the opening.
Installation details to compareReview the support, sill, drainage, frame dimensions, exterior projection, and interior finish together.
Geometric
A fixed circle, arch, polygon, or other nonstandard shape introduces geometric glazing.
Installation details to compareIrregular geometry raises measurement, setting, support, glass, reveal, and finish questions that should be resolved before ordering.
Plan the next step
Window-type selection prompts
Choose an operating style only after its hardware, clearances, frame geometry, drainage, fastening, sealing, and final movement can be supported by the opening.
- Room and opening context: the measured opening, installation method, frame requirements, product instructions, and room goals
- Does the room need ventilation or only daylight and view?
- Which direction can the sash move without conflict?
- Can the lock and operating hardware be reached comfortably?
- Do egress, safety-glazing, privacy, or cleaning questions apply?
- How should the opening align with neighboring windows?